My Personal Simulator Build

Version 1.0


A simulator is always an 'On-going project'


Before you even start to build your new Rig, you have to consider many things, I will try to highlight these below, hopefully it will help you plan your build, and save you some time and money venturing down paths that prove to be dead-ends. There is no manual about creating a simulation-rig, every rig is different, and every user has different needs and requirements. Knowing what you need is just the first step, you will make mistakes, plans will change, and many modifications will come afterwards as you get to use it.


ONE-SIZE DOES NOT FIT ALL !
If you do decide that you want to make your own simulator, then before building anything, ignore what you have seen elsewhere and write down all of your own individual requirements. Everyone has different needs, and as you will be spending a lot of time in the simulator, it is important that it fits you and all what you want from it, this could be a set space for writing, power outlets, maybe you want a cup-holder, or somewhere to store disks, books or paperwork. Decide if it Will need to be on wheels for moving?


What did I need?

Simulation Gaming is not the only thing I use my computer for, therefore whatever I built needed to enable me to continue to operate it for my other tasks.

I suffer a lot with severe back pain, requiring me to sit upright. I spend many hours creating and maintaining many websites, and I am also a published author, spending many hours on the keyboard writing, so therefore posture was a very important factor to consider, balancing a keyboard across my knees was just not going to work.

I already had a very wide desk, and ran two screens, at that time 2x 40" Televisions which made researching and my writing easier. I had tried many different swivel office/gaming chairs, but they still lacked the lumber support I needed. When I first got my Logitec wheel, gearstick and pedals I tried to use them clamped to the desk, but soon found that they interfered and got in the way when I needed to do other computer work, my keyboard was far off to the side which is not a great idea when writing.
I experimented and designed a sliding tray for the wheel, enabling me to slide it to one side clearing the path to the screen. This worked in relation to the keyboard /mouse positions and use when writing, but failed when requiring it for gameplay as it enabled the wheel and gearstick to move during operation, and they can be be used quite forcibly when driving, especially in racing games.

So I had to build something that suited all the things I required to do, creating the car style 'Cockpit' that I really desired, but also incorporating the Desk facilities that I really needed.

The Sim-Rig would be larger than the original desk that was suspended in an alcove and stick out into the room, by losing the desk space and the shelving it meant that I no longer had storage for the three computers I was using, the large screens, nor the multiple speakers and amplifier for my surround sound system. Due to limited available room all of this needed to be incorporated into a single unit, one that was mounted on wheels enabling it to be moved for cleaning and maintenance.

Cost was another factor that needed consideration, after purchasing the Logitec wheel, pedals and gearstick, there was little in the kitty to put towards building a simulator, especially a metal extruded framed one. I had to create one as cheaply as possible, using the wood that made up my desk, and whatever I could find on the local Facebook Free site.

Quite a bit to ask of a Car Simulator!
CHECKLIST PRIOR TO COMMENCING YOUR BUILD

  • WHAT DO I NEED TO USE MY COMPUTER FOR?
    Office work? Graphics?, Video editing? Streaming?
  • WHAT GAMES WILL I BE PLAYING?
    Are they driving games? Flying games? Do they have minimum running specs? What controllers do they need?
  • WHAT DO I DESIRE TO HAVE NOW AND IN THE FUTURE?
    Size and number of screens, additional electronic devices, motion control platforms?
  • WHAT DO i ALREADY HAVE?
    List the computer equipment you already have.
  • WHAT WILL I NEED TO BUY?
    Microphones, speakers, cameras, leads, extensions.
  • WHERE AM I GOING TO LOCATE IT?
    Where can you keep it?, what is the max size you can fit into that space along with room to enter it? Is the floor strong enough? Will it need to be mobile?
  • WHAT FURNITURE DO I HAVE?
    Are you building from scratch? Recycling existing furniture such as a desk?
  • CAN I BUILD IT MYSELF?
    Do I have the practical skills?  The right tools?  Space to build it?
    The computer, electronics, electrical knowledge required?
  • WHAT CAN I AFFORD?
    Can I buy a pre-made one?  Can I afford the materials to build from scratch?  Or will I need to recycle old furniture and adapt it to suit my needs?.
  • WHAT LIGHTING AND POWER OUTLETS DO I HAVE IN MY CHOSEN PLACE?  Where are they located? Will I need more?
  • WILL IT BE SAFE?
    Will it have sharp edges?  Is it safe from young children and pets?
    Will it be strong enough to hold your weight plus all the weight of the equipment?

Now you have listed your own personal requirements and considered your answers, you can now start researching the many videos on YouTube to see what others have made and how. See what has worked or not worked for them, then compare what they have built to your own list of requirements, mix and match these ideas until you find something that meets your own needs, then draw some rough sketches from which to work from.  Discuss your thoughts with others, they may have some better ideas, yet remember this project is your project, for the amount of time you will be using it, it needs to be ideal for you not them!


SOME TASKS OF THE BUILD NEED TO BE DONE BEFORE OTHERS
Some of your simulator items will be essential to have to hand right at the start of your planning, Wheel height, Screen height, gear stick height and position are important measurements to work out in advance. A lot of measurements are relative to the size of the seat you use and your own height, you do not want to be cramped up, nor sitting so far away you cannot reach the wheel or pedals. Buy or obtain the seat first, you do not want to build your rig only to find out the seat is too wide, or the seat runners do not match your plans.
Remember there will be other controls you need to reach too, including any switches that you later fit to your dashboard. Also the route of the wiring, will the leads reach? Where possible list them in order of build!


Below I will post some pictures of how I built the original rig, including the errors I made so that hopefully you will not do the same.
I will also show any modifications that I have made since the first build, and will add any future changes as they occur.
Please excuse the quality of some of the photographs, I was restricted where I could work on my build, being forced to work in a tight hallway on top of my freezer, and most photographs were taken late at night in poor light using an old iPhone.

Building the base.

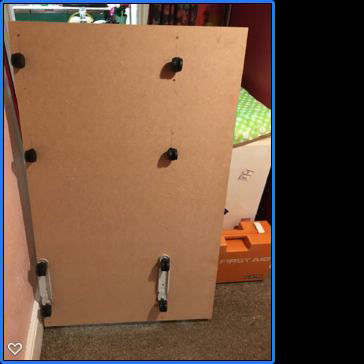
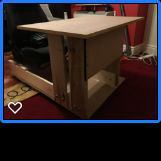
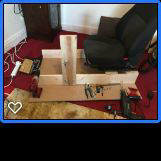
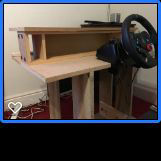
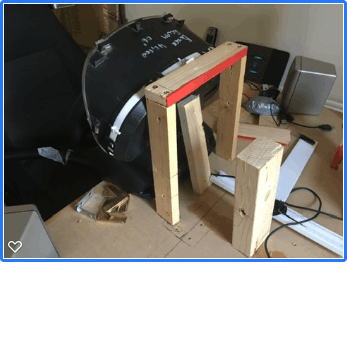
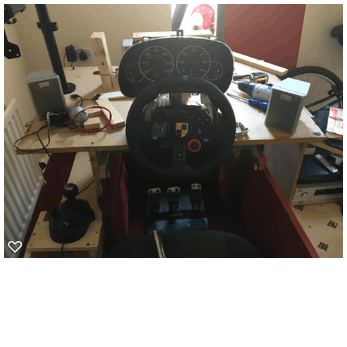
Most home-built simulators I had seen on the internet were 5-6 feet long and about 2 foot wide, This wasn't suitable for my room, and I also needed extra storage room to house the two PC's.  My base is made of chipboard and is 4 foot long by 3 feet wide, onto which I mounted vertically two 4 foot lengths spaced 2 feet apart and offset to one side of the base to allow space for the computers.  Two cross pieces that matched the runners of the car seat were fitted, although I later moved these fully towards the rear to further increase available legroom. all were glued then screwed into place.

Making it mobile.

I had some old castors, thinking that they would be good to making the unit mobile for cleaning and maintainance.


This was mistake number 1!

Once it was built I found that they were far from strong enough, and those under the seat snapped off the first time I tried to move it.
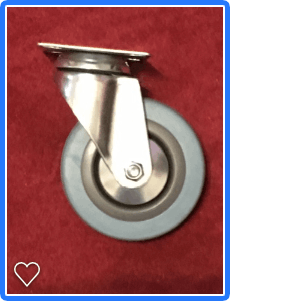
I then fitted some Nylon/Rubber wheels, the sort they use on pushchairs, after the DIY shop assured me they would hold the weight.


This was mistake number 2!

 The wheels literally folded in half when trying to roll the unit.

Finally I gave in and visited the local garden/equestrian centre, and I bought 4 heavy-duty metal wheels with solid rubber tires, as used on shopping trolleys, they were around £6 each. I fitted an extra length of hardwood across the rear underside of the base to give it extra support and bolted the wheels through it. These have proved to be well worth the extra cost.


In the first year I rebuilt the rig about 4 times, and once completely when I had to dismantle it due to moving home. This made me so glad that I had chosen to make it out of wood. I had originally looked at using Extruded metal as I had seen in some videos, but the price placed it way beyond my budget.  I also considered using plastic piping, I had seen a great video about using plumbing tubes which made it both lightweight and with all the various angled elbows available, quick and easy too. But the tubing video I had seen was just for a small unit, the pipes had too much play in it for the total weight my unit was to carry.


Somewhere to sit.

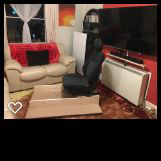
One of the hardest things to acquire for me was the seat, living semi-rural without nearby car breakers, and with the restrictions of the Covid lockdown, it took me a while to find one. I was originally looking for a Heated seat which I intended to run from a 12v source, but I had to make do with a standard seat from an old Astra.
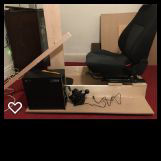
The sliding rails were bolted down onto the cross members enabling me to adjust legroom.

Working out the heights and angles.

One of the most difficult parts of the build was trying to work out the heights and angles of the required uprights and shelves. This was made even more difficult working alone. Balancing bits of wood and holding up the wheel unit to work out the best height while sitting naturally in the seat was hard, but I eventually got all the measurements I needed. 

Making it stable.

Four uprights were fitted, off-set on the right-hand side to enable legroom between the seat to enter the unit.
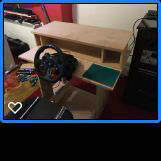
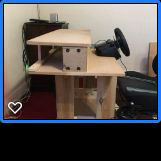
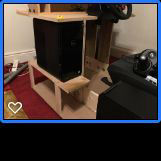
A square MDF shelf was attached to these to make a mounting for the steering wheel. Using an old CD rack laid on its side, I used this to attach a second smaller shelf to hold the monitors. I also fitted a panel across the open front end of the unit to give it added stability. The CD rack shelves would make a good housing for the speakers, dials and switches that I planned to fit later.

Mounting the Brains

Another shelf was fitted to raise the main PC.
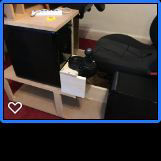
The 2nd backup PC was fitted in facing the other way to enable access to the power buttons and DVD rack, this would later have a foam cushion on to make an arm rest.

Gear Changes.

A small box structure was built for the Logitec gearstick, with a narrower shelf to comply with the table top mountings, but it was also bolted through the top shelf to make it completely rigid.

Wired for Sound.

Being unable to afford a full Motion-Rig, I needed a way to add extra feedback, so I tried to find another way to do this. I no longer used my old powerful Fidek amplifier or my Alphason surround sound speakers, so I fitted the large heavy bass speaker in the front of the footwell above the pedal position. This provided a deep vibration into the rig's framework that could be felt in the seat. The remaining 5 speakers would be fitted to surround the seat.

The new monitors do not have any sound output, and rather than feed the game sound through the TV, the amplifier and surround sound speakers provide a much better and far more powerful sound, adding more to the realism.

Taking shape.

It was now 'usable' although the keyboard was in  the wrong place, especially for my other needs. The amplifier was still mounted in a separate cabinet which made it hard to move the unit due to the many wires that created an umbilical cord between the two, and the mis-matched screen sizes although great for writing, were not the best for gaming.

Full matching triples.

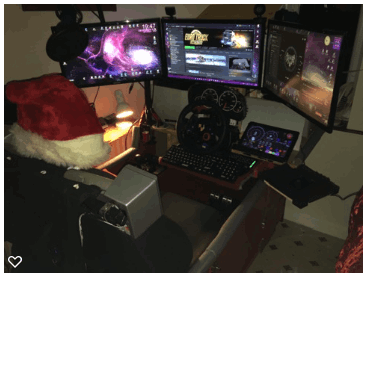
In the end I Purchased 3 matching monitors which  made a world of difference, it also freed up the 40" TV to use as a separate monitor above the others on a wall shelf.  I had experimented with wooden shelves for the monitors, but found that they sagged with the weight, I needed them to be level and to be 100% safe, and was lucky to find some proper adjustable support arms on Amazon under a 'Black Friday' deal for under £15 so I decided to use those instead.

Dashboard

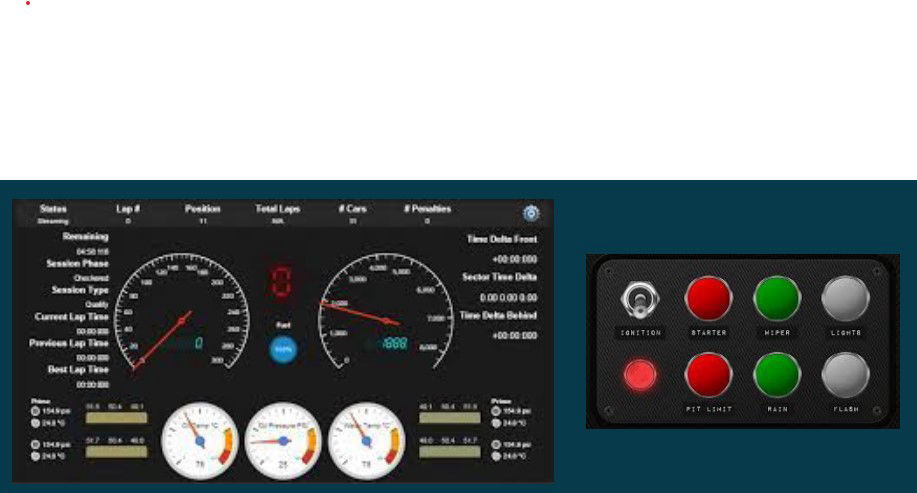
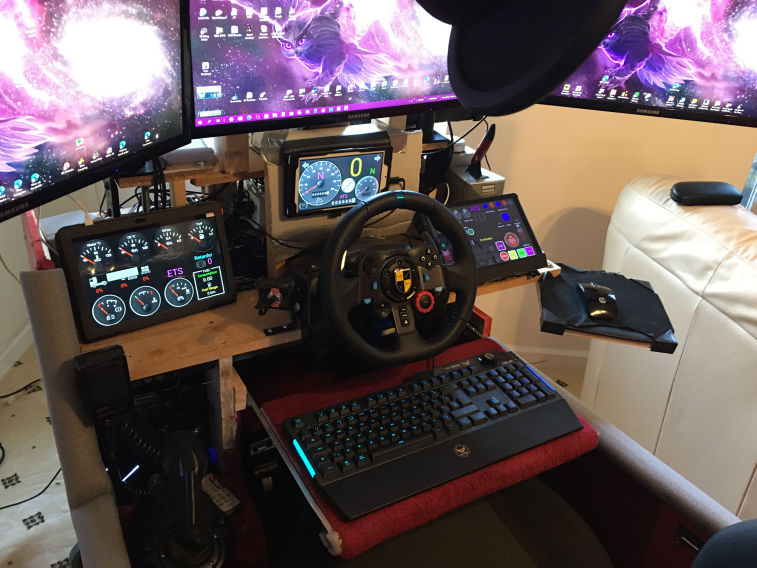
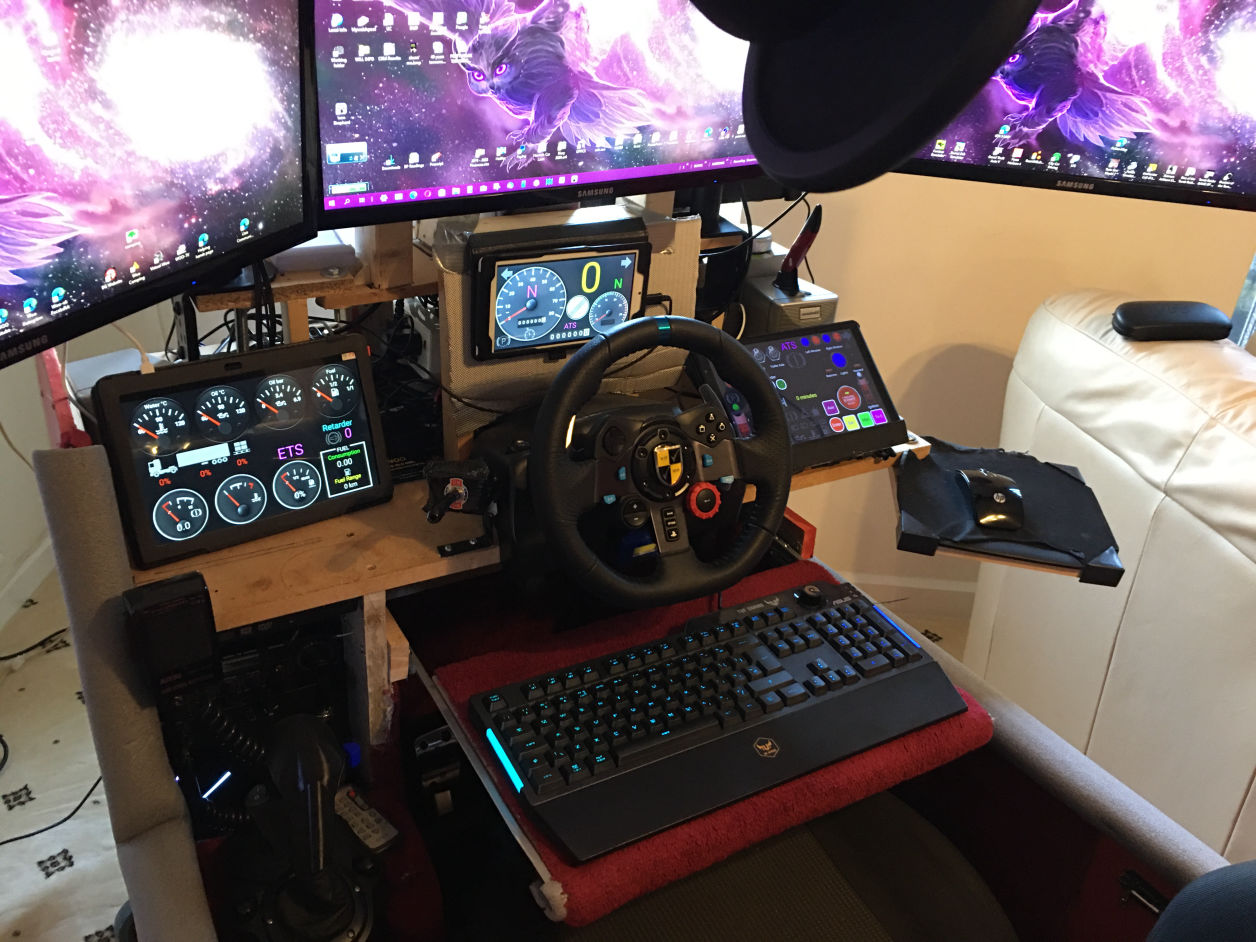
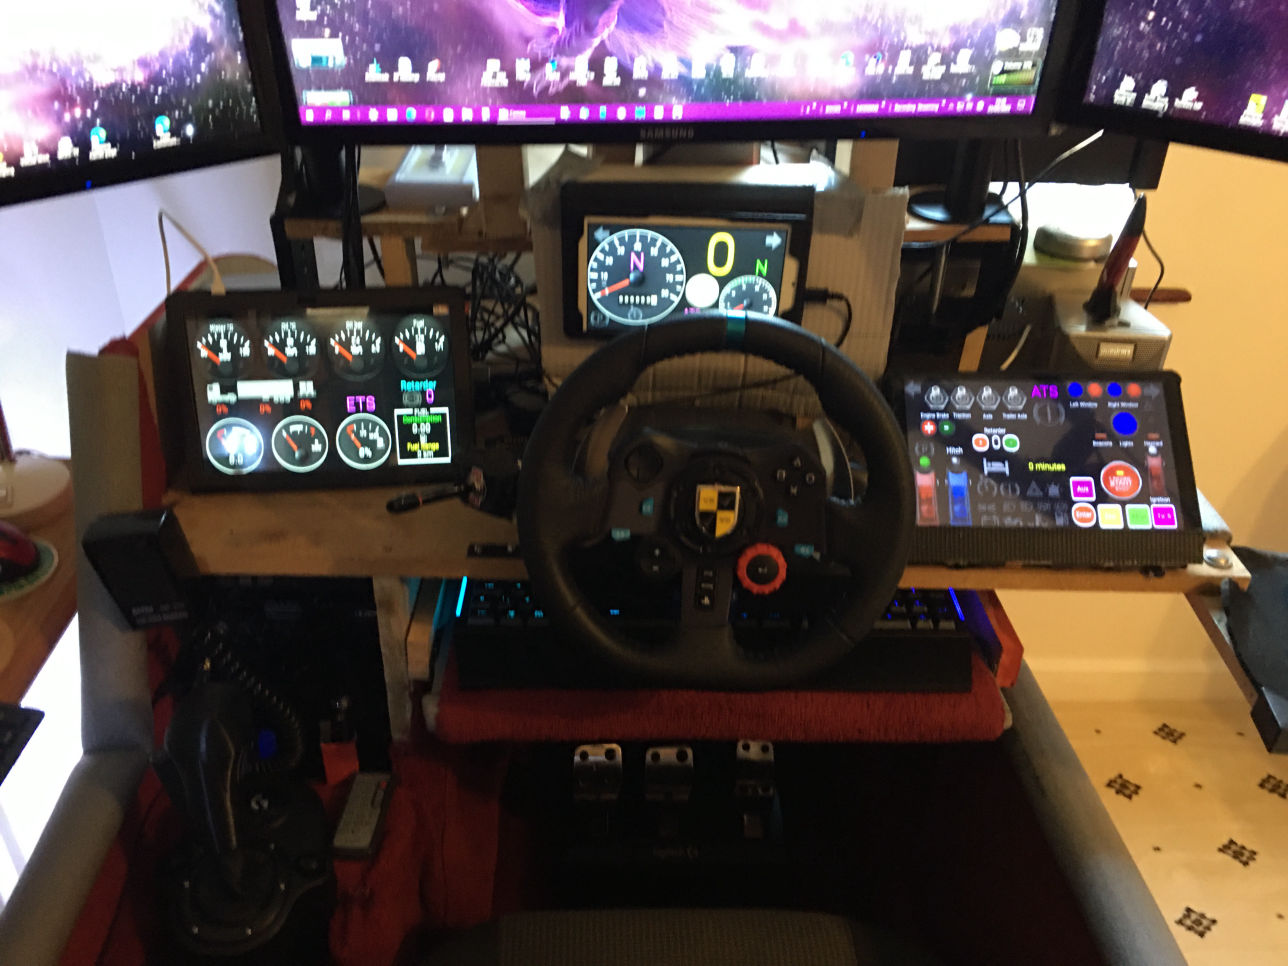
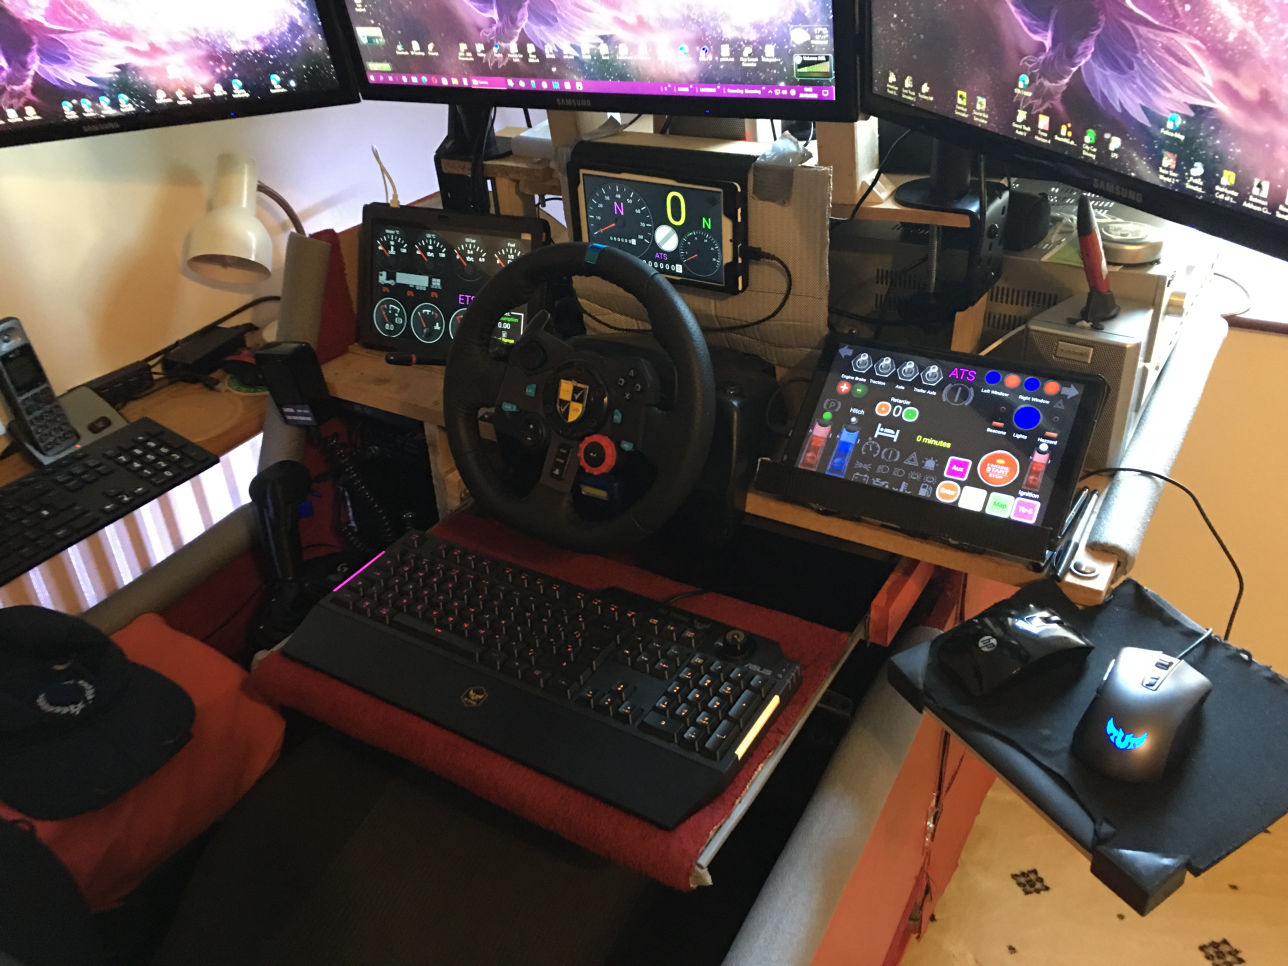
The speedometer in the games can be difficult to see due to size, and due to the large number of button selections in the games, there was just not enough to use on on the wheel and keyboard. A good solution to this is to use the game's telemetry to output the game information to an external device.  There is a cheap to purchase application for Android tablets/phones called 'Sim-Dashboard', at around £12 for the Pro version it was well worth the cost.  You can even design your own layouts, creating speedometers, gauges, and also use it as as a Button-Box.

Getting comfortable.

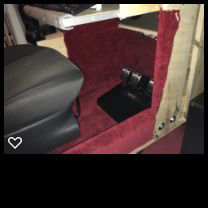
Pipe-lagging was placed over the edges of the wood, then leftover carpet was laid over this lining the floor and  walls, this added protection for legs along with warmth, and it also deadened the sound from the bass speaker escaping from the inside of the unit.
A slide out shelf was added to hold the main keyboard, extending out beneath the wheel and creating a small desktop area that came across over the top of my legs, with the car seat fully back this provided the working position I needed when writing.  A small swivel shelf was added to the corner of the main unit to use as a mouse pad.

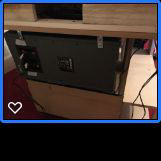
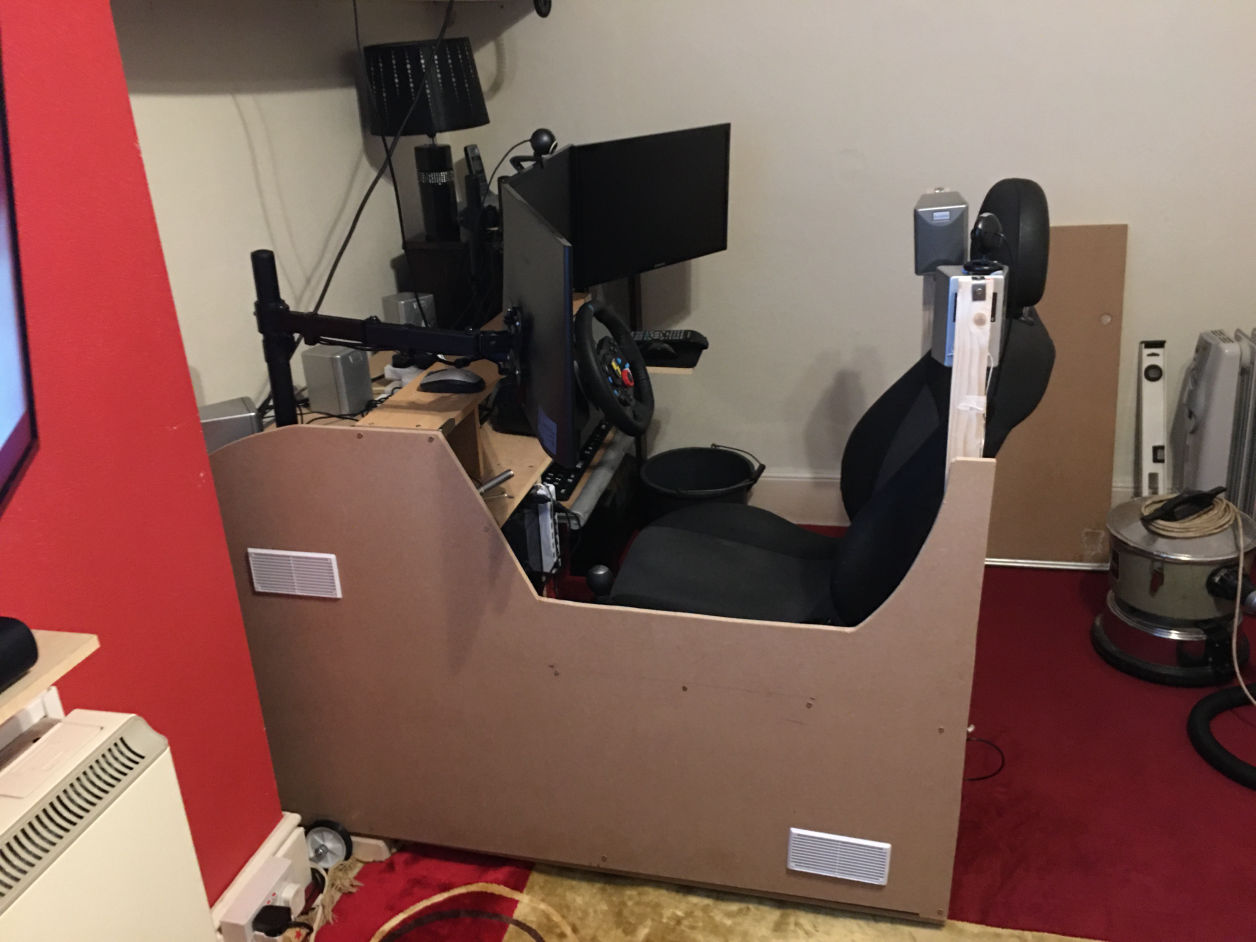
Side panels were constructed to protect the computers, with vents matched to the computers ventilation slots being cut into them to assist with airflow and cooling.
A simple door was constructed for the other side and internally lined with carpet.  a simple case lock was fitted outside and a hidden slide bolt on the inside of the door (2 year old Grandson could open the outside lock!).
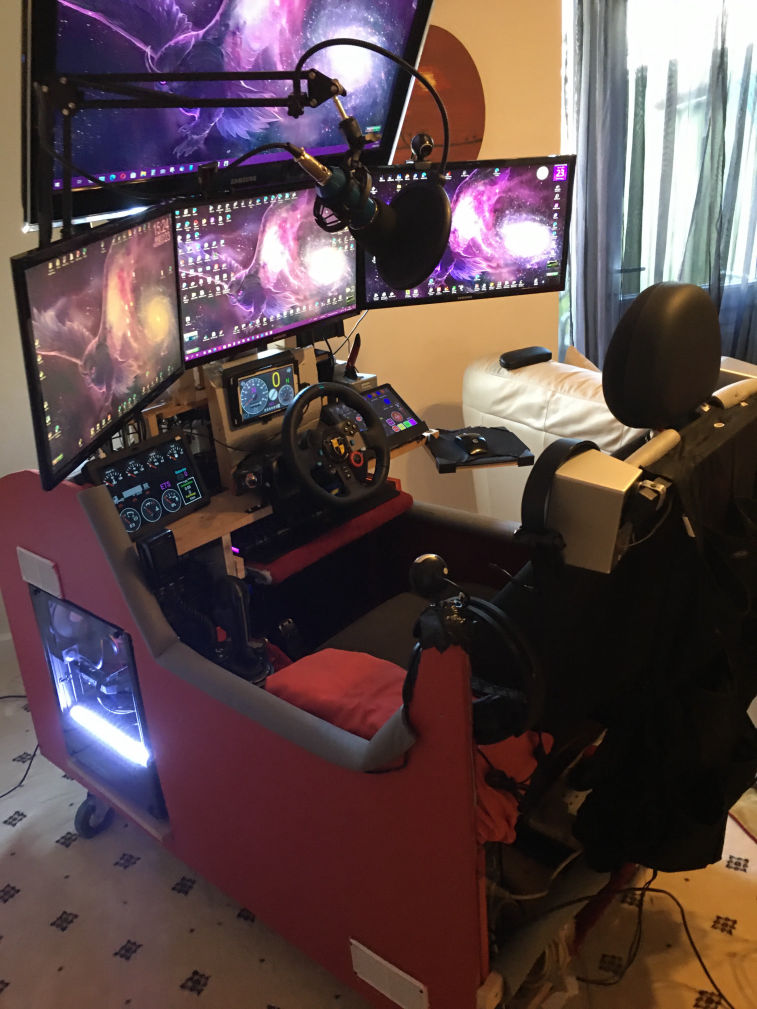
The rear speakers initially on uprights, were moved and fitted to a thin cross member of wood which attached to the headrest pins by means of plastic pipe clamps, so that the speakers moved with the seat.

Good Indications

Mobirise Website Builder

As a driver, using keyboard buttons to operate the indicators is far from natural when driving. If everything operates the same way, and is positioned in a similar place to the controls of your own car, then it makes simulated driving far more relaxing. It also prevents new 'Learned behaviours' so that when driving in real life you are not fumbling around trying to find buttons on a keyboard that does not exist. Much Safer!
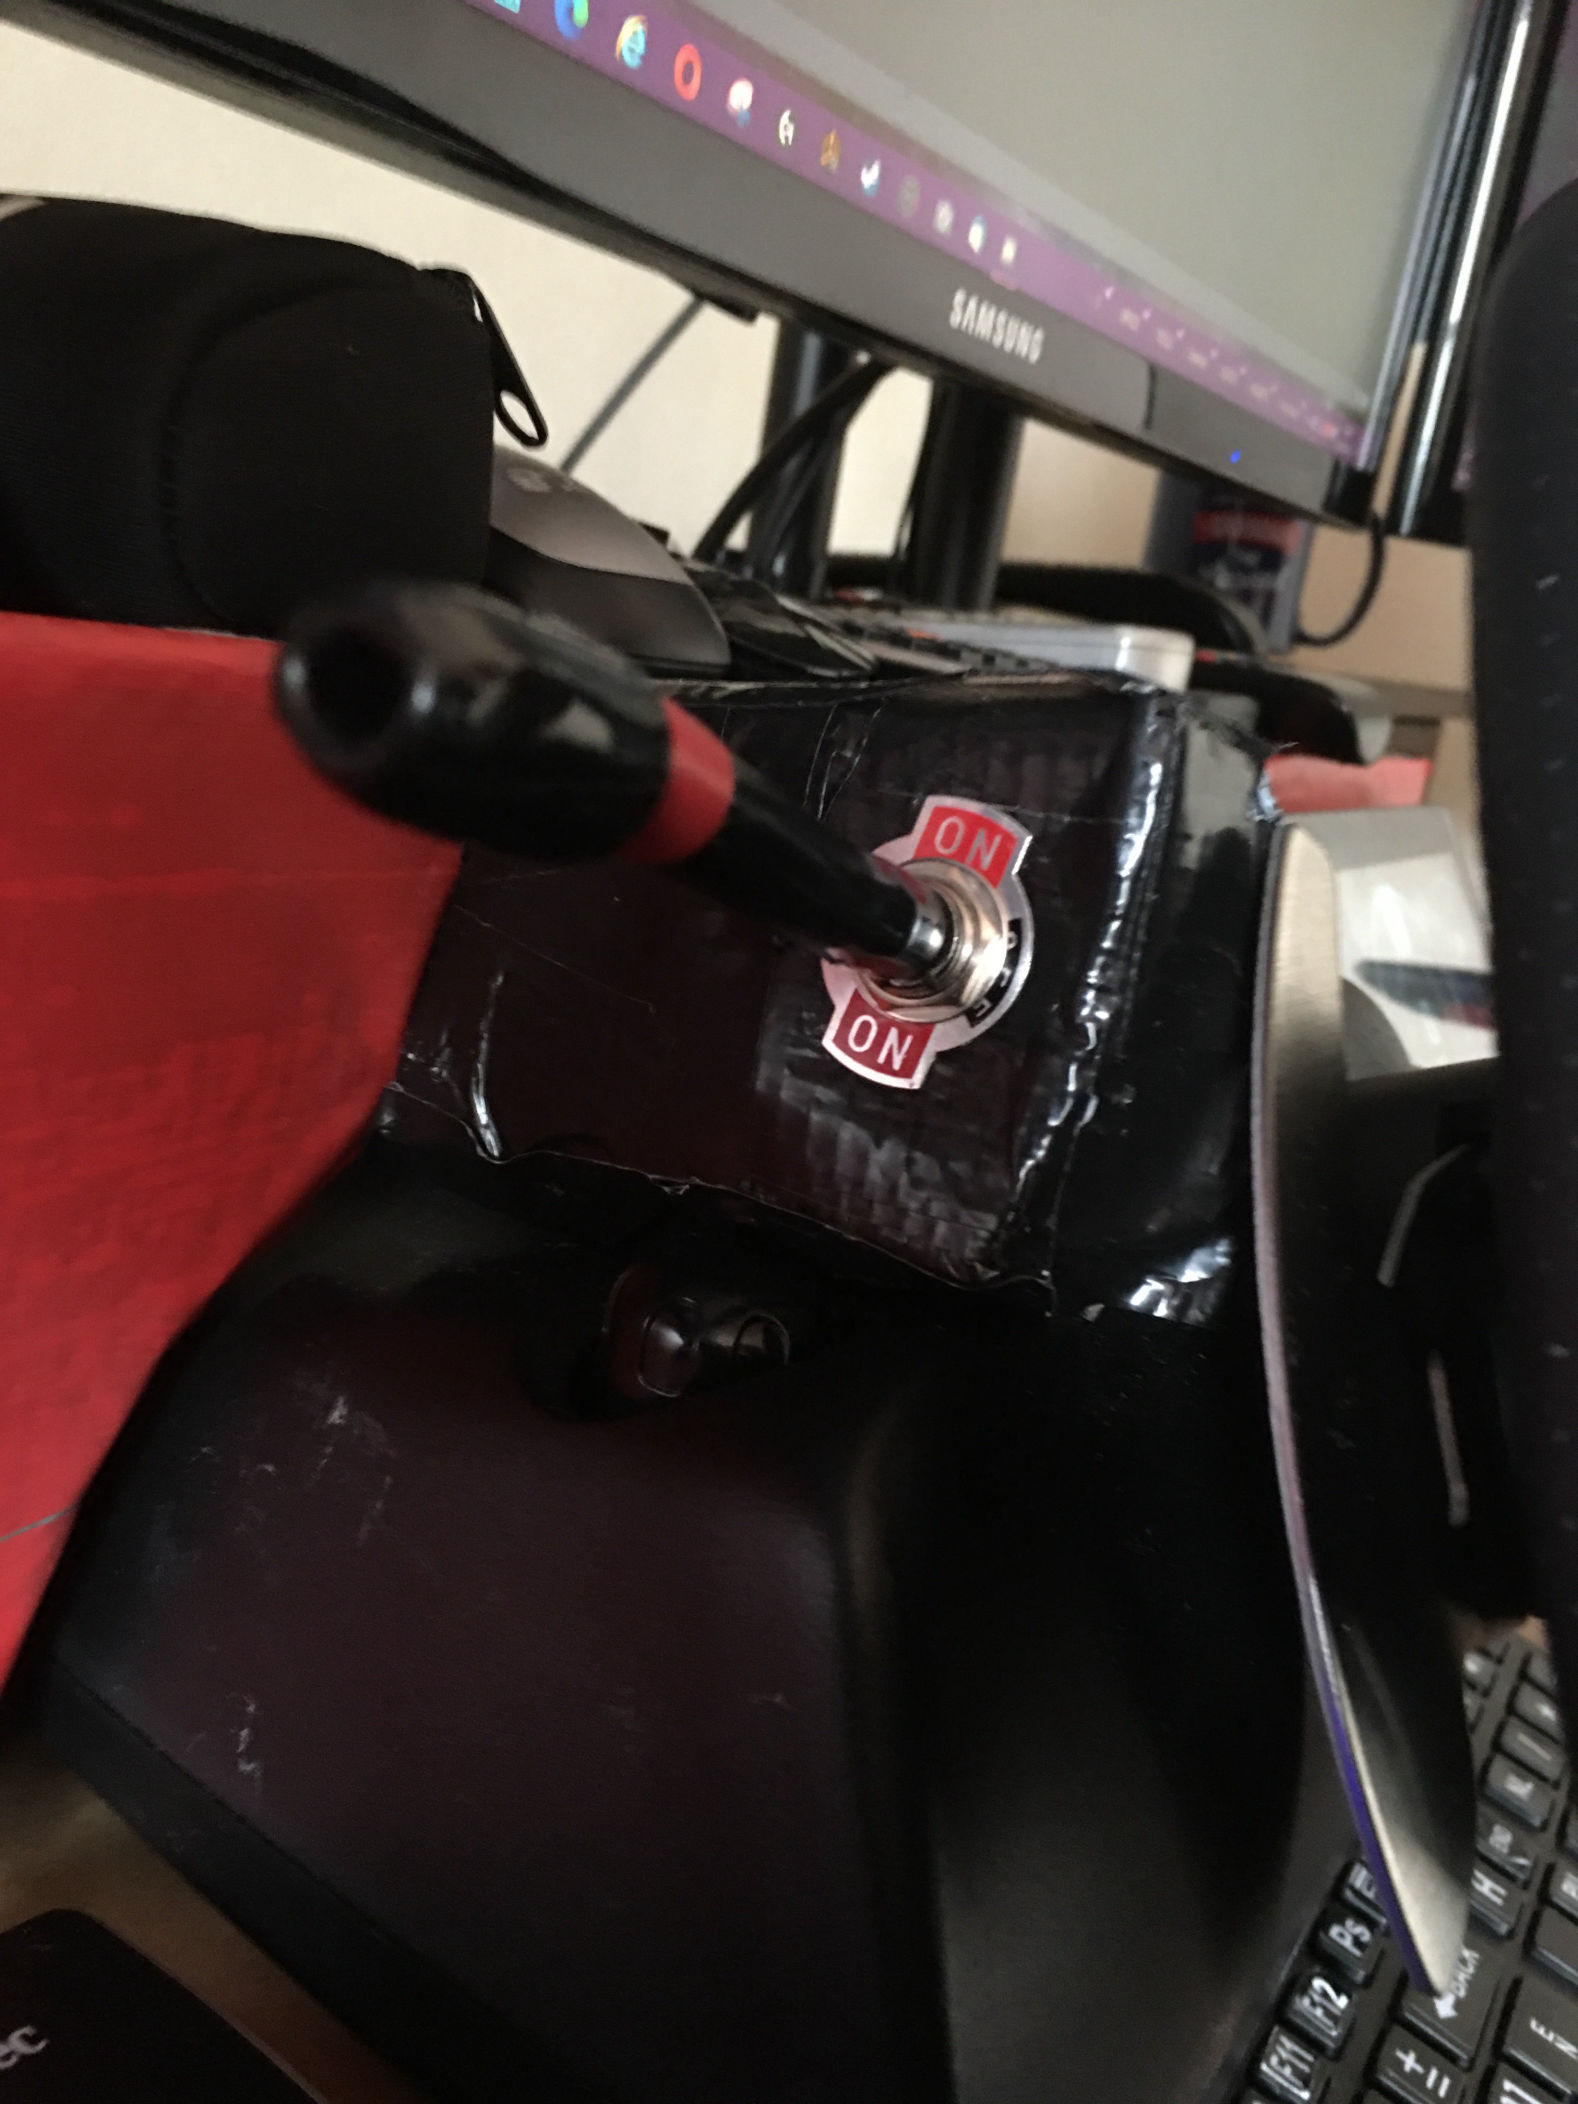
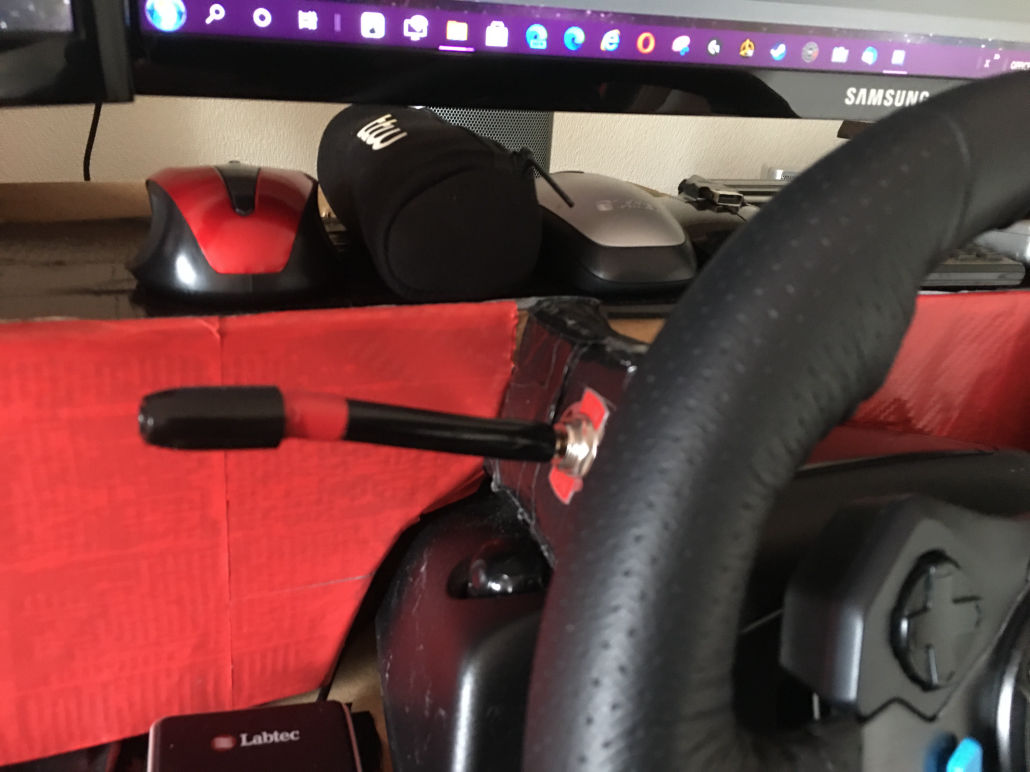
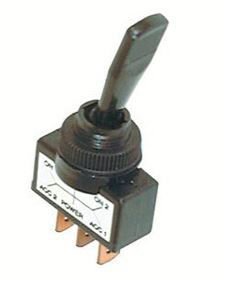
Initially I used an old mouse that I stuck onto the left side of the steering unit with blu-tac, this worked well, but I wanted a traditional style stalk that could be positioned in the same place as it was in my own car.  So I bought a 3-position [momentary] on/off/on flasher switch, then wired this to the Left/Right button switch circuits on a USB mouse that I purchased from the £1 shop. Gluing a piece of plastic tube onto the small switch toggle to extend beyond the wheel, I created a working indicator stalk, then I just set the in-game button selections to match the mouse buttons.
This is only a temporary measure, as when I build the switch panel using a USB joystick controller, then I will wire it into that, tottaly freeing up the mouse buttons once again.

DASHBOARD

Mobirise Website Builder

What type of Dashboard?

Over time your ideas and requirements change, after seeing many home builds videos on YouTube, I thought that it would be good to have a fully working Instrument Cluster, so I purchased a used but working one from a car breakers. The idea was to use an Arduino Nano board to connect it to the computer so that it would display the real time telemetry from whatever simulator I was using, the Arduino would also control some of the buttons I wanted to fit to the dashboard, eg Starter switch, Wipers, Trailer hitch, Window switches etc. Along with using the Zero-Delay USB Joystick controller boards to operate the other switches then I could then remove the need to use the keyboard completely.

Although possible, the understanding of, and my programming skills for Arduino are not that great, added to that I was having great difficulty in obtaining information on the 'pin-outs' of the Peugeot Boxer panel, despite endless searching online and writing to manufacturers. Having a non-working instrument cluster is pointless and frustrating, and so instead I decided to go fully digital.

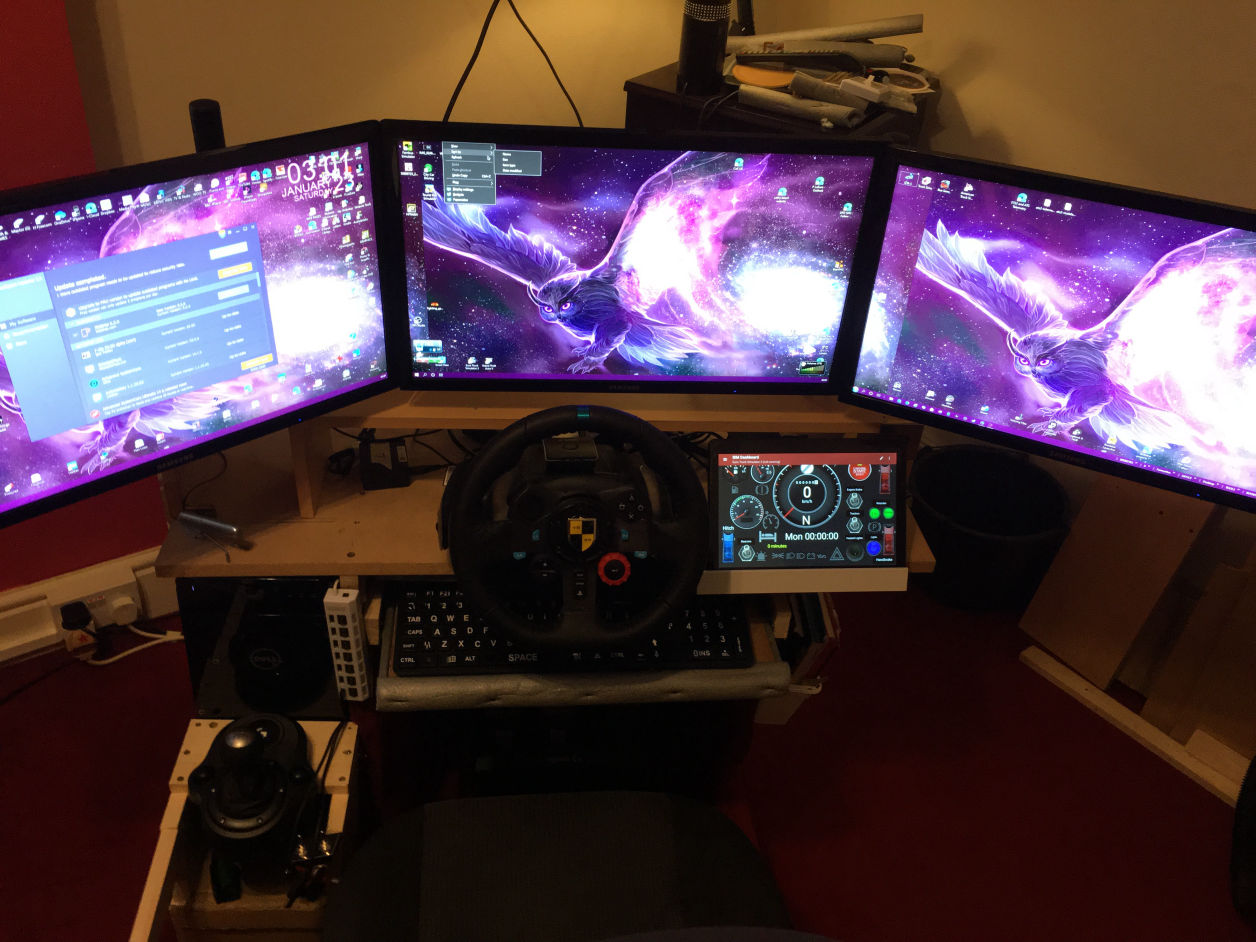
I had already been using a 10" Android tablet as a Dashboard display and a button box using 'Sim-Dashboard', although my many controls were now taking up 3-4 pages that I had to switch between. I was lucky to get a second 7" Android tablet from the local recycle pages, this one I used specifically as a speedometer, and I gave in and purchased another 10" tablet from Amazon when it was on special offer. 

Mobirise Website Builder


Doing it this way is actually far better than having a 'Set' display from an instrument cluster, as you can easily change designs and layouts top match the specific game. eg different layouts for Truck Sims than those to Bus Sims, or when using other games or programs. Flicking a page I can even use them to operate OBS or Twitch when recording or streaming. Sim-Dashboard automatically switches over to the program in use, and can run separately on 5 or 6 devices at the same time.

I now need to build the wrap-around dashboard fascia panel, on which I will mount the tablets using Velcro so that I can also use them independently as tablets if required.

Once the dashboard is complete I intend to fit LED strip lighting around the dashboard, in the foot-well and along the inside of the side panels to add extra light when streaming, I am going to wire this into the seats built-in seat belt sensor switch, so it only turns on when sitting in the chair.

A professional Microphone has also been added ready for streaming. A screen for the 2nd PC and its keyboard, and my landline have been mounted on a wall shelf, this will enable me to use the 2nd PC for OBS/Twitch etc., leaving all the memory and processing power of my main machine to run the simulator programs on Ultimate settings.


My original Dell XPS computer running an Nvidia GTX960 graphics card and 32gb memory has now been down graded to use as my backup / streaming computer.
Now the Sim-Rig unit runs a blazingly fast Tuff Gaming PC Intel i9.11  3.60 ghz with a 12 core RTX3060 12mb graphics card and 80gb of memory.
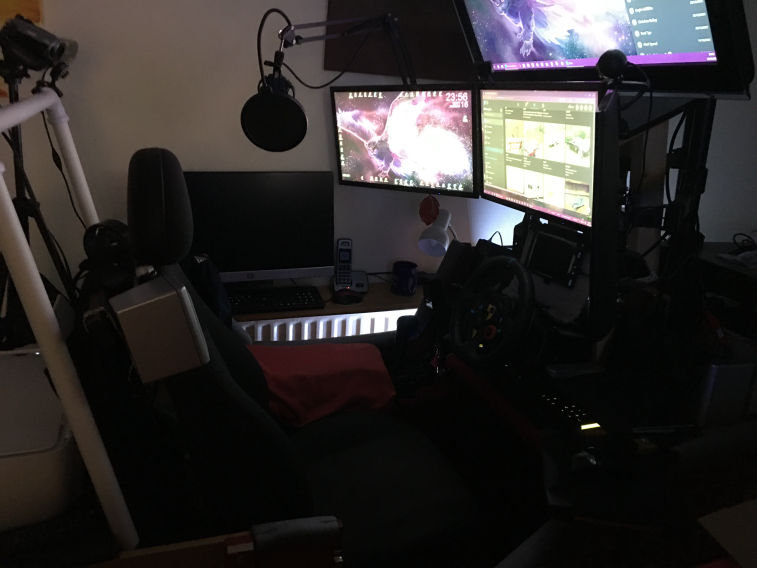
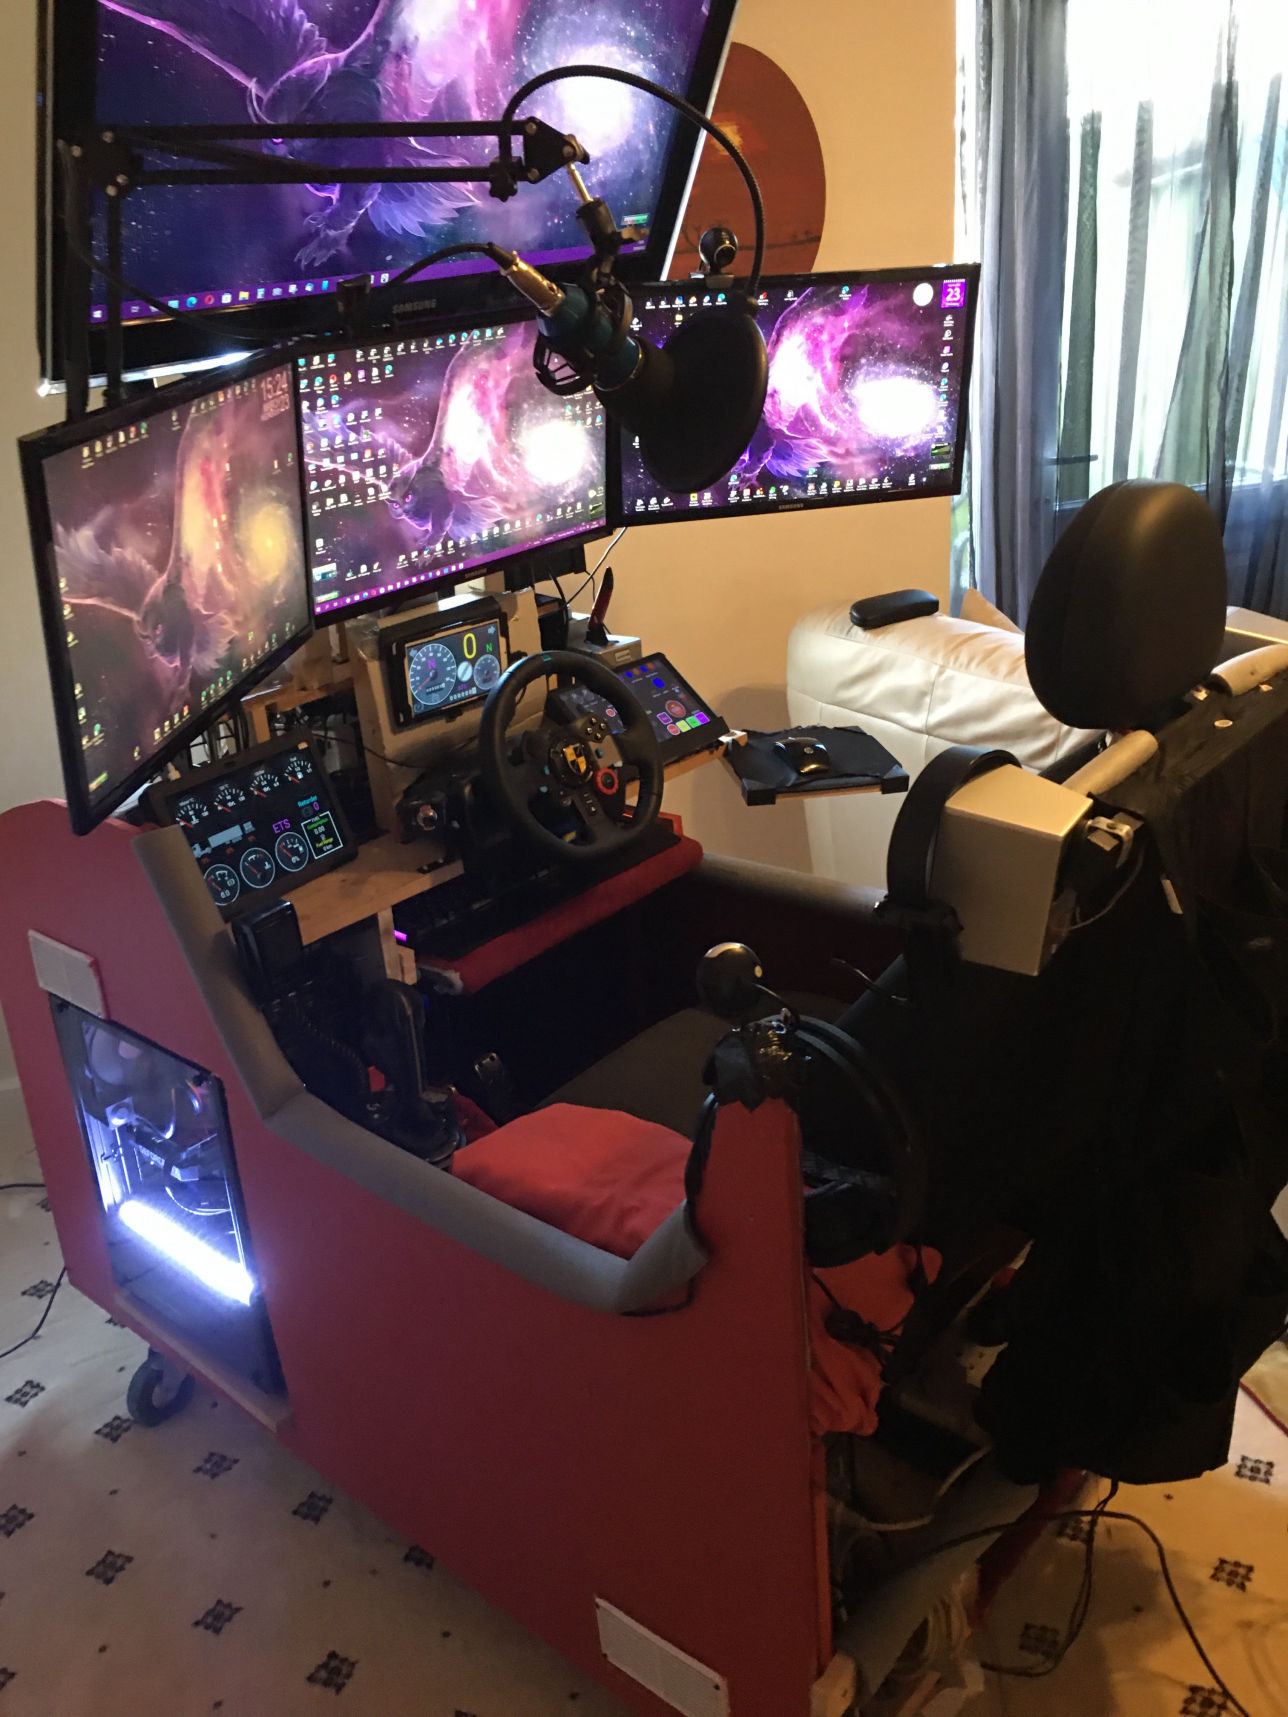
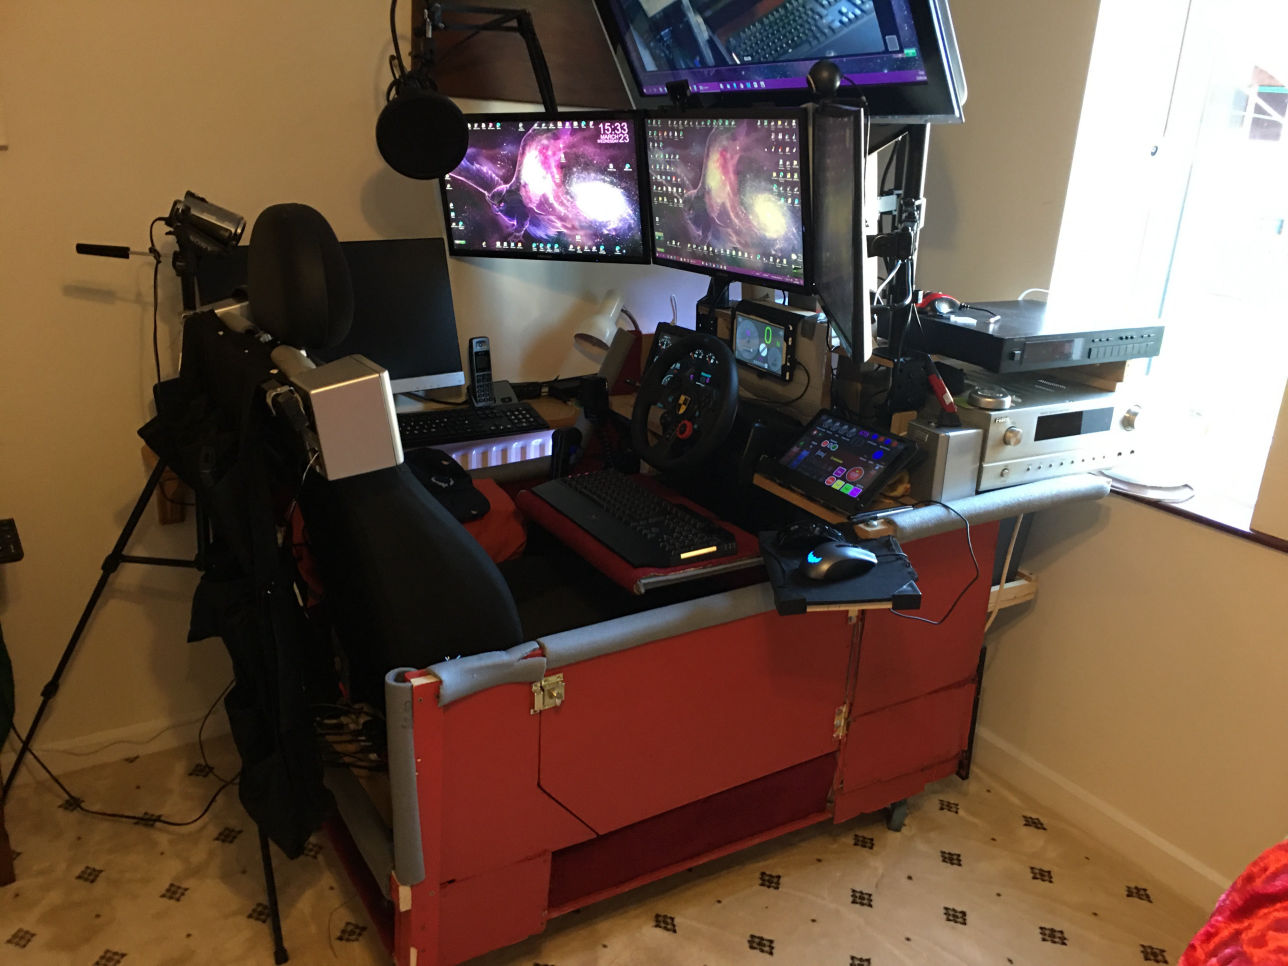
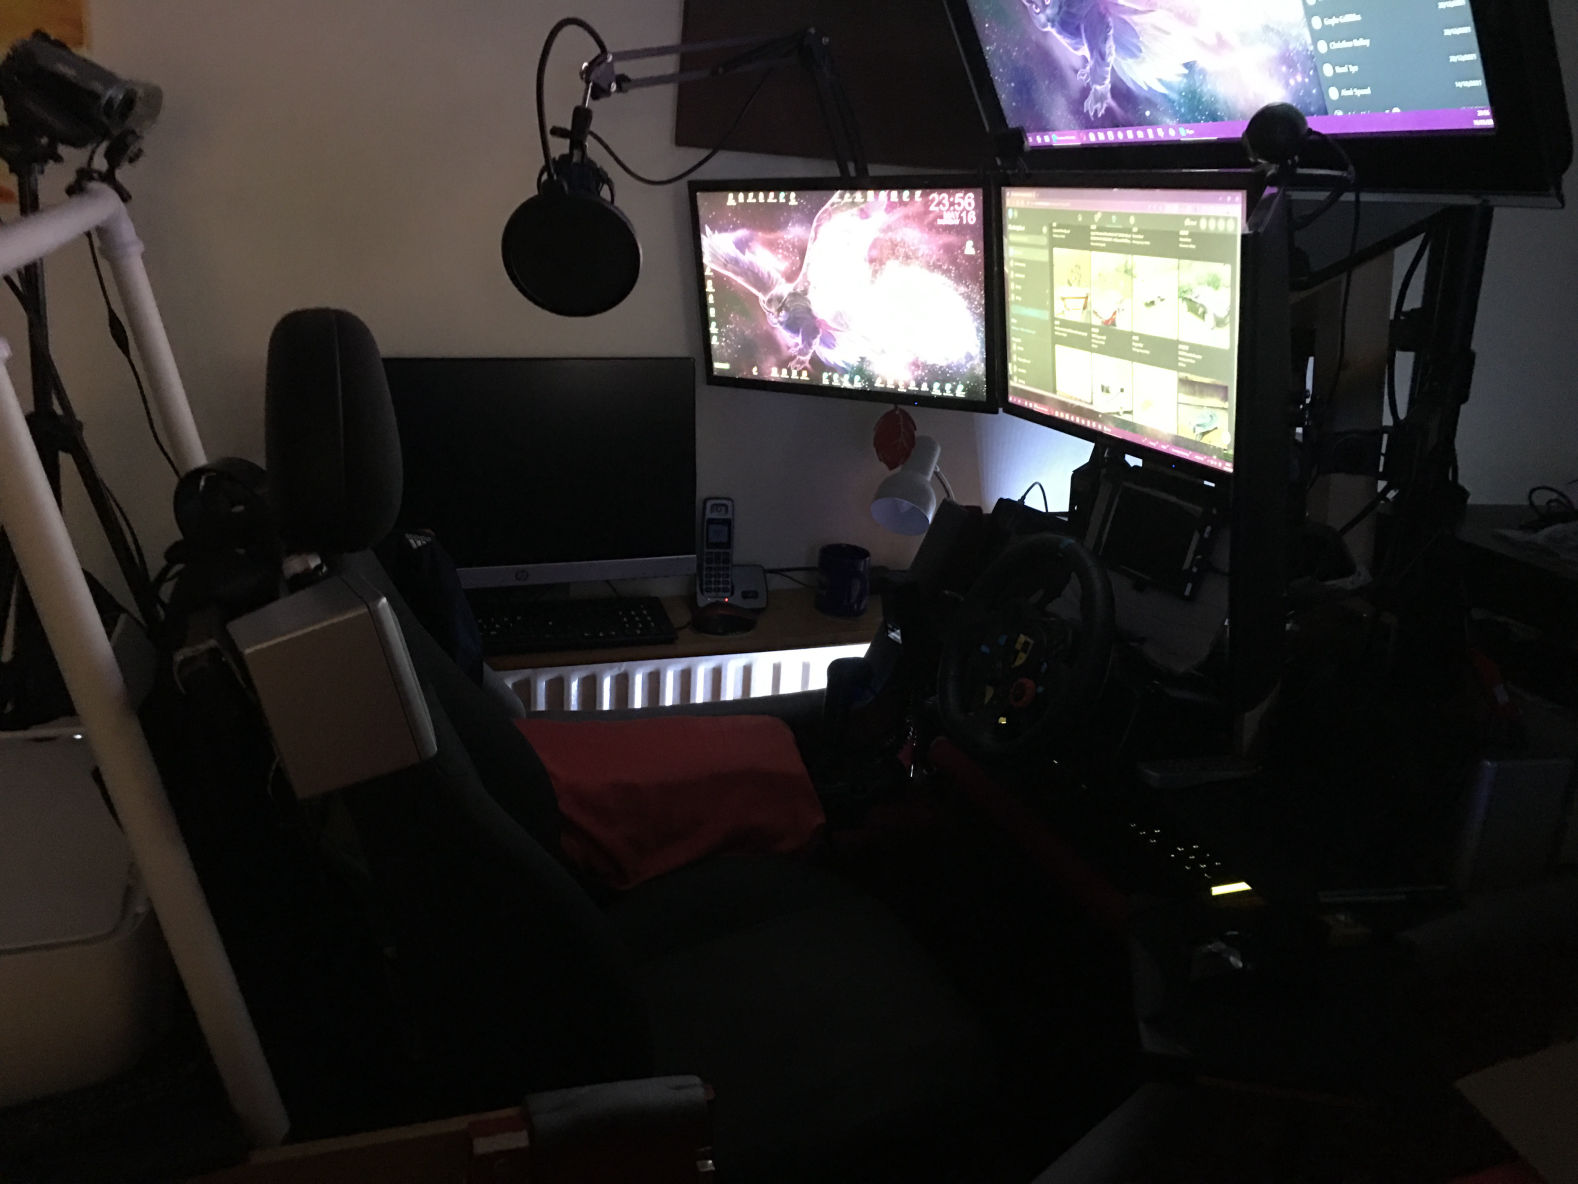
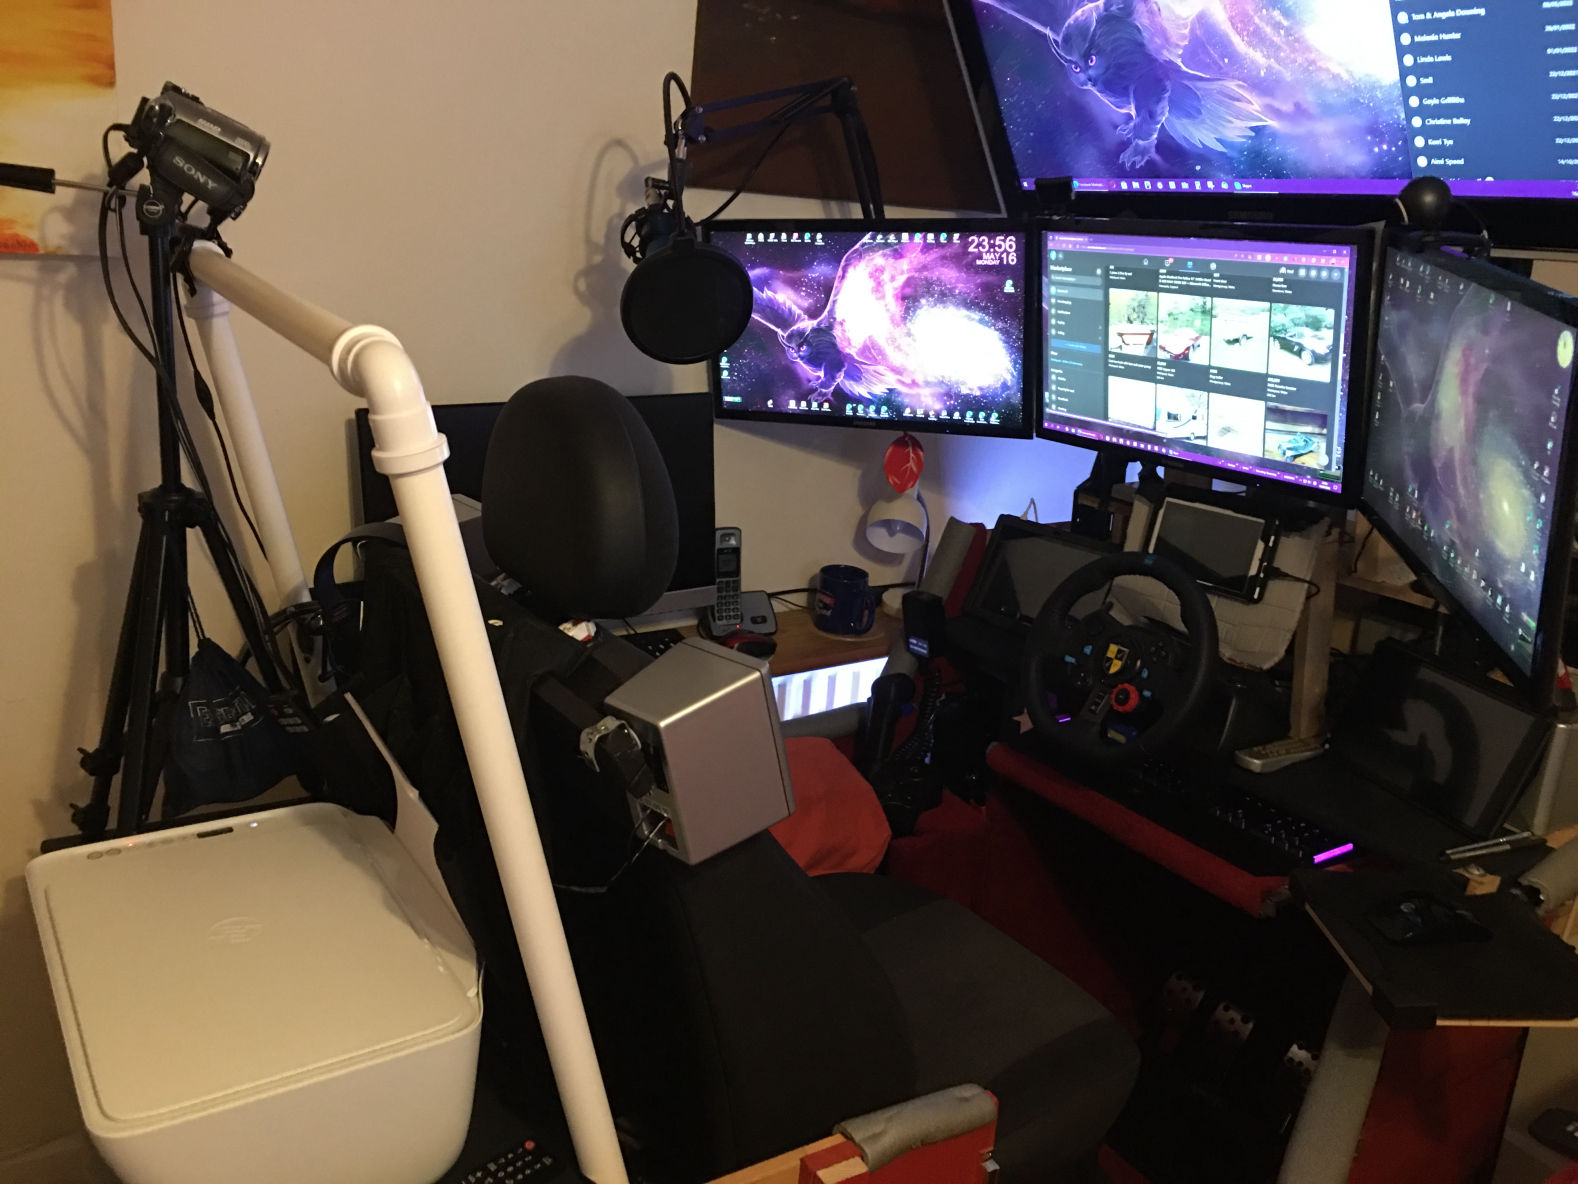
However this new PC was an inch or two higher and over an inch wider than the Dell and no longer fitted into the purpose built cubby hole. So it created yet another front-end rebuild of the simulator, so that the new computer could sit behind the monitors along with the surround sound amplifier and radio unit.  This meant removing the existing shelf that supported the additional monitor, and required a rebuilding of the support structure for it. The 40" TV now sits above the centre screen as before, but is now tilted inward at a 22-25 degree angle making it easier to see when sat back in the car seat.


Finally the big screen is back in place, angled forward for a better view

Yet more changes and another partial rebuild!
I have now upgraded the memory Dimms of my main machine, and now have 80gb of fast usable Corsair Vengenance 3200 memory instead of the original 16gb. This should hopefully future-proof the unit for some time to come.

***

When I first built the unit I was using my older Intel i7 computer, this enabled me to hide the tower units away within the build. When I purchased the new i9-10850 games-machine the casing was too tall and too wide to fit in the original position, so it had to sit on the top of the unit behind the screens, and with the four screens this made it almost impossible to access the power button / audio jacks and USB sockets.

I have now taken out the original mounting shelf, made a wider platform as a base, and cut-out a matching side panel so that the new computer again fits at the side below the dashboard. This machine has its controls on the top and not mounted on the front panel as the previous machine, it also has a mesh top for extra ventilation, so I have positioned it lower down in the rig, leaving an 8" x 8" open box channel above to give it better ventilation.

***

I have now also purchased a triple switch gear controller to sit on my existing Logitech gearstick, simulating the full 18 gear mechanisms such as an Eaton-Fuller, with Range, Splitter, and Jake Brake switch.

***

I am now building a Dashboard fascia from clear perspex covered in Carbon Fibre patterned vinyl wrap, these will be lit from the rear with LED lighting. I will attach each of the tablets to this with Velcro, which will give me the option of using them separately if needed. I will use the same panels to mount the Ignition key, and the various other switches and buttons, these will be wired into two USB zero-delay Joystick encoders, and then matched with the in-game buttons.

I will now use the Arduino Uno encoder that I originally purchased to run the cluster to create a separate  'Stream Box', the buttons and radial dials will control all aspects or Recording and Live-Streaming.

***
The older PC mounted to the side of my seat, now has it's screen and keyboard fitted to a wall shelf beside the Sim-Rig. I will be able to use this computer to display and run my Twitch screen, keeping the scrolling text panels off of the main gameplay screen.

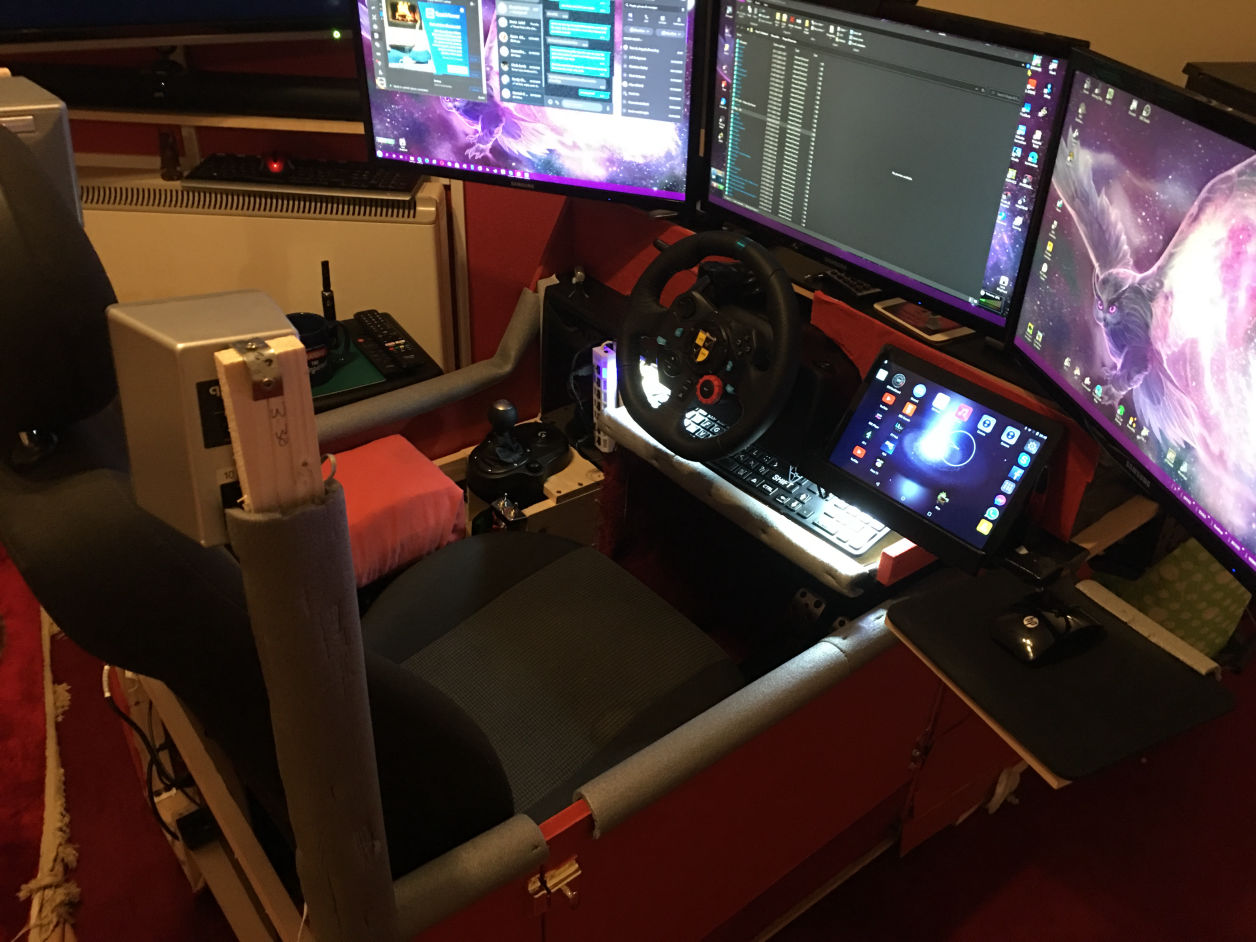
My Current Set-up

ALL-IN-ONE

In preparation for the development of the dashboard panel, which is going to be made from Perspex and covered in vinyl, and will secure the three tablets in place as well as house the many buttons and switches, I have now covered the dashboard shelf using the material from an old blackout roller blind.

I also decided to fit a mock 'Roll-Bar' made from plumbing pipe and elbows. At first I mounted it too far forward and it fouled with the sliding seat adjustment and reduced the access room when getting in and out, but I have now moved it back and slightly angled it. The reason for this bar? it gives me an adjustable mounting that is is higher than my head, to which I will attach the video-camera that records the steering wheel, and the webcams that aim directly at the gear shifter. By fitting a coat hook to one of the uprights it has also given me a good place to hang my various headphones. The framework also gives better support to the circular 'Green-Screen' without having to use the straps around my seat.

With so many power cables and USB cables running off to various peripherals, it made moving the sim-rig unit quite a chore, I was eager to have it all self-contained, with just one 'Umbilical Cord' to the power sockets. So I have added an extra shelf behind the seat which now holds my printer.


MY CURRENT SYSTEM SPECS


Computer
: TUF Gaming 'Sniper'
Case: GameMax Diamond Black ARGB Gaming Case
Processor:  Intel(R) Core(TM) i9-10850K CPU @ 3.60GHz 3.60 GHz
Graphics:  ASUS NVIDIA GeForce RTX 3060 12GB Phoenix V2 Ampere Graphics Card.
 Intel Core i9 10850K 10 Core CPU [Intel UHD Graphics 630] [Unlocked].
Displays:  3x Samsung 22" Wide monitors. / 1x Samsung 40" Television. 
2x 10" Android tablets. / 1x 7" Android tablet. 
Memory:  80gb Corsair 3200 MHz RGB Pro Tray (2x 32gb / 2x 16gb) 
Cooling:  Corsair H45 Hydro CPU Cooler AiO
Motherboard:  1 x 1000GB M.2 PCI-E NVMe Solid State Drive [Up to 3500MB/s Read | Up to 3000MB/s Write]
1 x ASUS Intel B460 TUF Gaming B460M-PLUS (Wi-Fi) Micro-ATX Motherboard.
Power supply:  850W - Corsair RM850 80+ Gold Fully Modular Power Supply.
Storage:  1000GB M.2 PCI-E NVMe Solid State Drive [Up to 3500MB/s Read | Up to 3000MB/s Write].
2TB Seagate Barracuda SATA III 3.5" Hard Drive 6GB/s
4TB TOSHIBA HDWE140
System Type:  64-bit operating system, x64-based processor
Operating System:  Windows 11 Home

Logitech G29 Wheel / Pedals / Gear shifter.
3-switch Eaton-Fuller gear stick controller.
Track-IR 5 Pro infrared headset controller.
Sim-Dashboard.
'Blue' Professional USB  Microphone.
Fidek Surround Sound Amplifier.
Alphason Surround Sound Speakers x5

MACHINE 2.
INTEL I5. Processor.
6gb storage.
HP 23" monitor.


So what's next ?

Once the facia panel has been built and I have covered the dashboard platform with vinyl, I intend to better cover the front of the rig, hiding away the wooden shelves and the complex spaghetti of wiring, but still allowing access to the Amplifier and Radio unit.

I am also trying to design a lorry style handbrake that will connect to one of the zero-delay encoders, which will add further to the immersion and realism.


So far the rig has done well to suit my needs, it has provided a new level of immersion when driving trucks in ATS and ETS 2, and greatly improved the experience in GTA5, Forza Horizon 4, and my Bus/Coach simulators.
But it's always going to be an 'On-going' project, it will have rebuilds and many adaptions as time goes on, as I find new needs and find better ways to do things. It has been a great 'Lockdown Project' and a fulfilling adventure, as well as adding so much more realism to the simulation games that I play.

If you have any comments or ideas for the future, email them to me via the link at top of the page.


My 2nd Simulation Rig Build

After a few years of use, new interests and requirements require a total new rebuild of my simulation cockpit. See link below.

Share this Page!

Comments Page

.....

Martin Smith

Client

.....

Jessica Brown

Client

AI Website Generator