Home Simulators
Are limited only to your finances and your dedication.
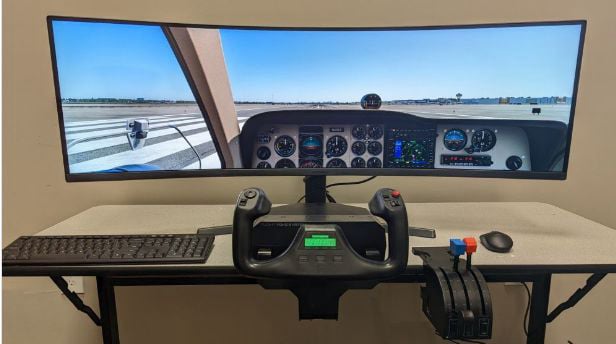
Simple Desktop Setup
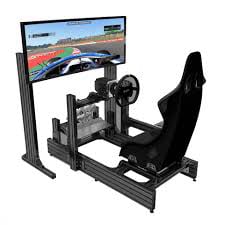
Pre-made bases
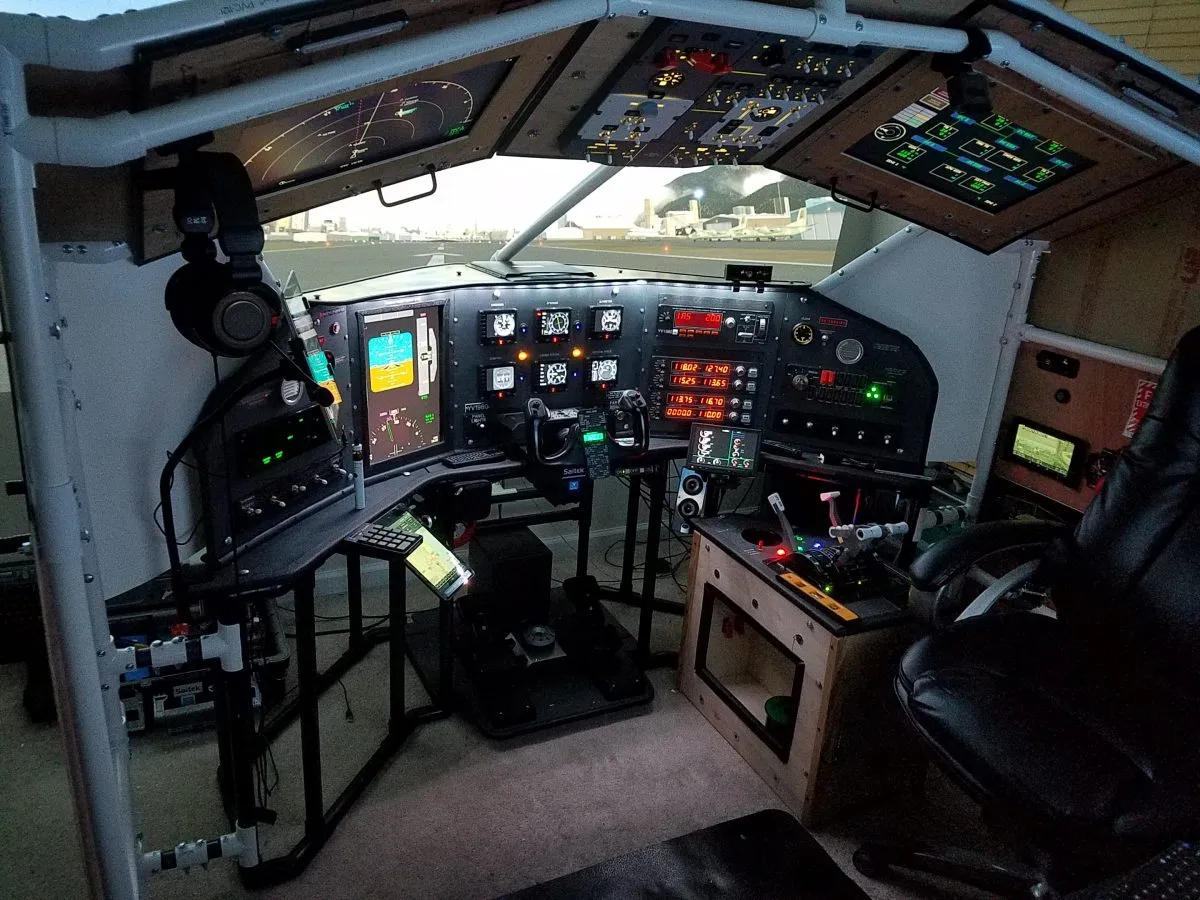
Ideas on how to build your own immersive simulator.
Simulated driving is fun whether you are sitting in a multi-thousand pound purpose built professional simulator, a simulator that you have made yourself, sat at a computer desk or just balancing a laptop computer on our lap.
But we all want that deeper immersion into the game, and a 'Sim-Rig' can certainly add that!


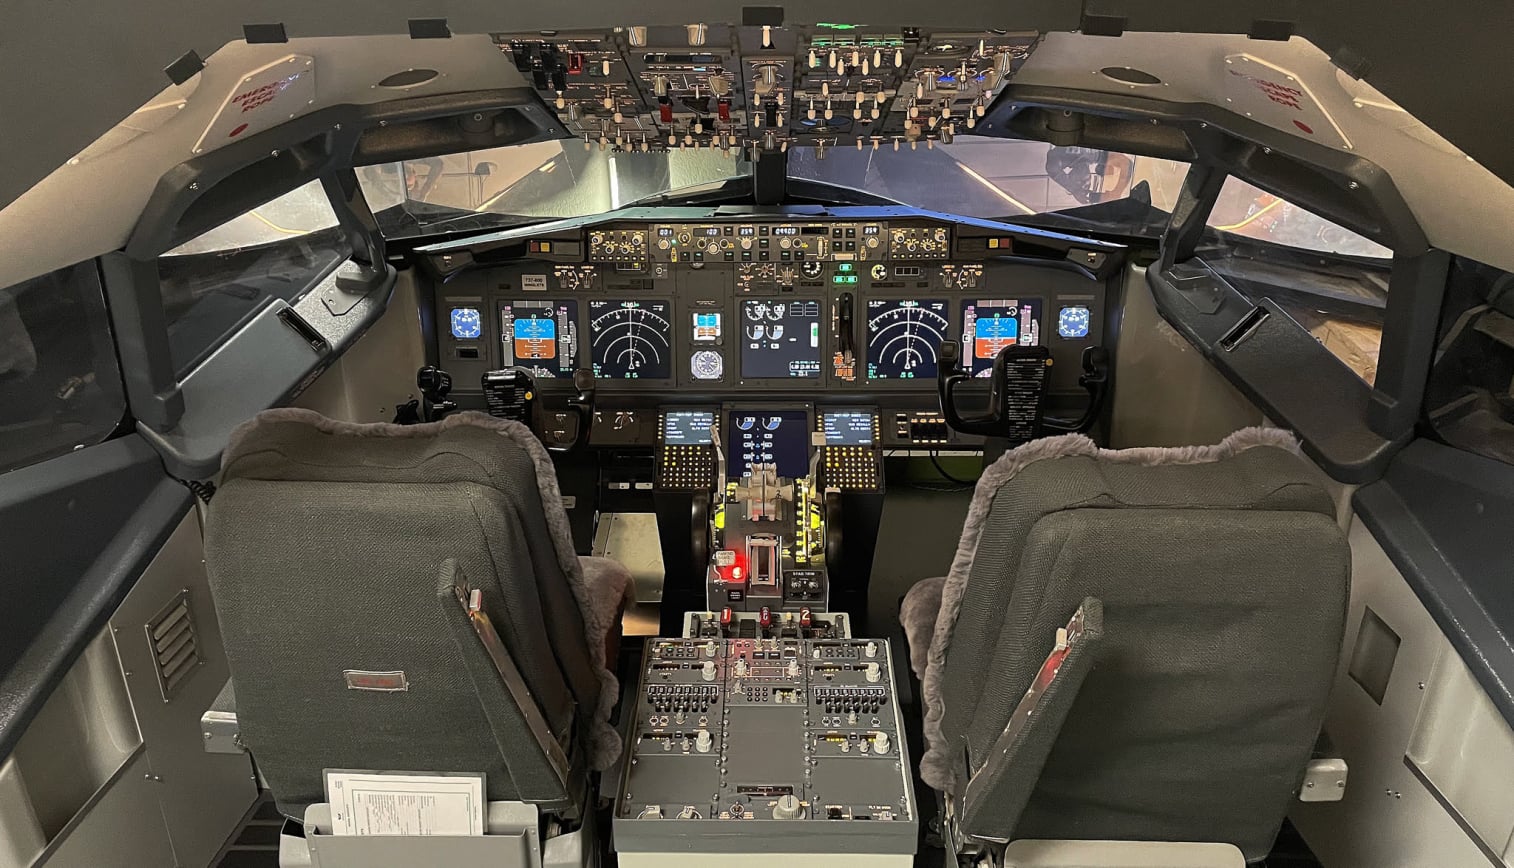
If the money is there, and you have the spare room, then there is no limits on what you can build at home. Some even purchase real aircraft parts to fit into exact replicas.
But the price this cost to build, would challenge most pockets, you can certainly say goodbye to your holidays or new car.
Of course, when it comes to a simulator you always have a choice, buy pre-made, or build one yourself.
If you have already viewed the pages on ready made simulator cockpits, then I am sure I do not have to explain it too much. The prices of pre-made frames is extortionate, ranging from a few hundred pounds to many thousands of pounds, Which can be way out of financial reach for many of us.
Things in our life change, we move homes, we change rooms, we purchase new or different games equipment, or buy different monitors to play on. Pre-built rigs are rigid and you may not be able to adapt them to fit your exact future needs, whereas if you make one out of cheaper wood, it can be easier and much cheaper to change, adapt, or even rebuild later.
If you had the room, then It might be cheaper to buy a small non-running Mini car from a car breakers, and using a grinder cut off and throw away everything but the cockpit, many do this and have produced some spectacular simulators. But here we will concentrate on DIY builds.
So we do not have the many thousands to spend on an exact replica, nor the many hundreds for a pre-built 'Racing Base', yet we want more than the controller clamped onto our dining table or work desk. So we decide to make our own.
Before you get out your saw and nails, before you even begin to purchase the material to build, you have to determine exactly what it will be used for. Is it going to be for Car Racing? Truck Driving? or Is it for Flight Simulation? as each may require something different.
If you are aiming for 100% accuracy and realism, then when it comes to car driving, a rig designed around a basic car cockpit is pretty forgiving, as many cars are of a similar layout. A basic car cockpit will be ok for Rallying, Formula One car racing, or when driving a Truck or Bus, although you can further modify to better suit either. But with flying it is a bit different, the controls to fly one plane are very different to those used to fly another, and a helicopter is totally different. In fact each brand, model, style, even size of aircraft can mean totally different cockpit layouts.
So If flying, What are you going to fly?
The important fact to remember here is... A simulator does not need to be an exact replica!
Every vehicle or aircraft layout is different, so why be stuck to using only one type?
A simulator needs to be Practical, Usable, Ergonomic and Comfortable to use for long periods of time.
It needs to match your own individual needs, it must be the right size and height for you, it needs to fit into your desired location. Work with your existing software, and it must be at a price you can afford, to both buy, and to run.
So for those without a bottomless bank account, I want to try to show some alternative ideas and methods, to show ways to recycle things and repurpose older items and technology, and where possible to create D.I.Y. alternatives.
A purpose built simulator can really add to the immersion
When I first started out I just had a normal computer desk stuck into an alcove of my living room, and a fancy looking racing style office chair on castors. Having two computers, my desk was already quite cramped as I had two screens, two keyboards, mouse pad and two mice, plus the normal desktop items such as pens, rulers, hole punches and staplers etc.
When I purchased the steering wheel and gear stick, they clamped onto the front edge, this meant moving everything else out of the way including the keyboards which I frequently needed to use, there was just enough space to keep my mouse. Apart from simulation gaming, I also needed to retain the use of the computer, I am an Author and I also create websites, and to do this I had to unscrew both the wheel and gearstick each time to move them out of the way. This soon gets very frustrating!
I experimented by building a sliding shelf on top of my desk, attaching the wheel and gear shifter to the shelf so that I could just slide to the side when needing to use the computer as a computer. But the movement of the wheel during racing can be quite aggressive, and I soon found the shelf would move too much.
Using the wheel, pedals and gearstick also produced another issue, and that was the my swivel chair on castors. Turning the wheel left or right spun my seat in opposite directions, operating the brake pedal pushed my seat backwards away from the desk, and this movement caused many crashes and me missing gear changes.
Over the first few months I soon came to the conclusion that I needed something better, something more suitable for driving and placing the wheel and gearstick in a more natural position. I needed a chair that supported my back that would not spin or move backwards, which placed me into a more natural driving position. I decided the best way forward was to build a driving cockpit!
The issue then was I still had my other requirements, I could not afford to purchase extra screens, and I did not have the room available for both a simulator and a work desk. So I had to try to design a unit that would still enable normal computer use and meet my new requirements of driving. I created a checklist, a set of questions that highlighted my requirements, and something I could use to restrain my ideas when building my rig. I will put these below and highly recommend you consider using them if you are thinking of making your own Simulation Rig.
In the process of my planning and of the initial design, I came to a conclusion.
Making a 'Simulator' usable for my other requirements, is far easier than making a desktop usable as a simulator!.
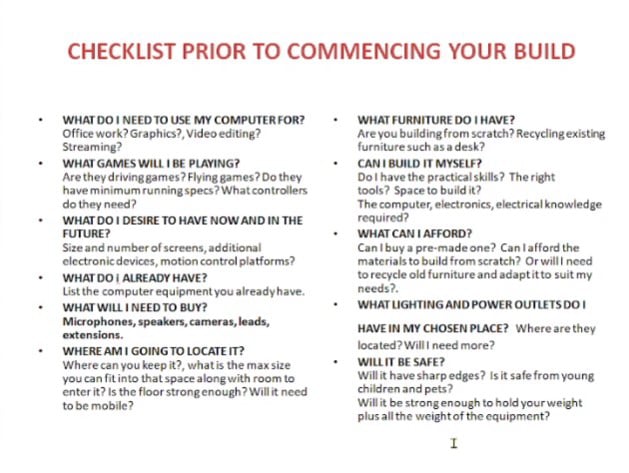
This section is not supposed to be about how I built my simulator, it is just to create awareness of things to take into consideration, I shall be detailing my builds elsewhere on this site, and will provide links to it later.
I chose to make my simulator from wood, mainly because it was a cheaper alternative, and I already had some 2x1 laying around, I was very limited on finances so where possible I had to repurpose. Wood was easier for me to shape in the way i wanted, and it was far more forgiving when I had to make something higher, lower, or move a part to a different location, I could move supports, change heights, it didn't matter if I had to drill again, as holes can be filled, which proved to be a godsend as ideas changed quite a few times.
After building the 'Cockpit' housing the steering wheel and shifter, I utilised a slide out shelf to hold my keyboard, adding a lower side shelf to act as a pad for my mouse, which proved to be more ergonomic. This meant I could sit comfortably when writing my books, and with the triple screens I had much better 'Screen estate', meaning I could write on one whilst using the others for research.
OK so I now have a cockpit, what now?
This brings me to the next section, I now had a Driving Simulator, a car without wheels.
I had a steering wheel, pedals, gearstick, but what about controls for the other things?
At the start I had to use the keyboard and mouse for everything, but as you will soon see in the next section this is not ideal.
Being from the UK I wanted to keep the gear shift located to my left, and being naturally right-handed I needed my mouse on my right side. I had suffered several minor strokes (TIAs) and this meant my left arm was sometimes weaker and not as strong, and the accuracy of its motor skills was less than that of my right, so I did not want to have to rely on typing commands and using keystrokes.
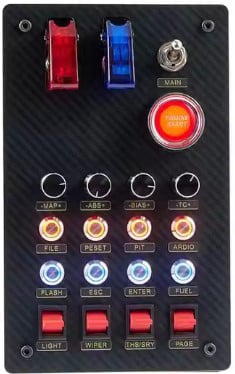
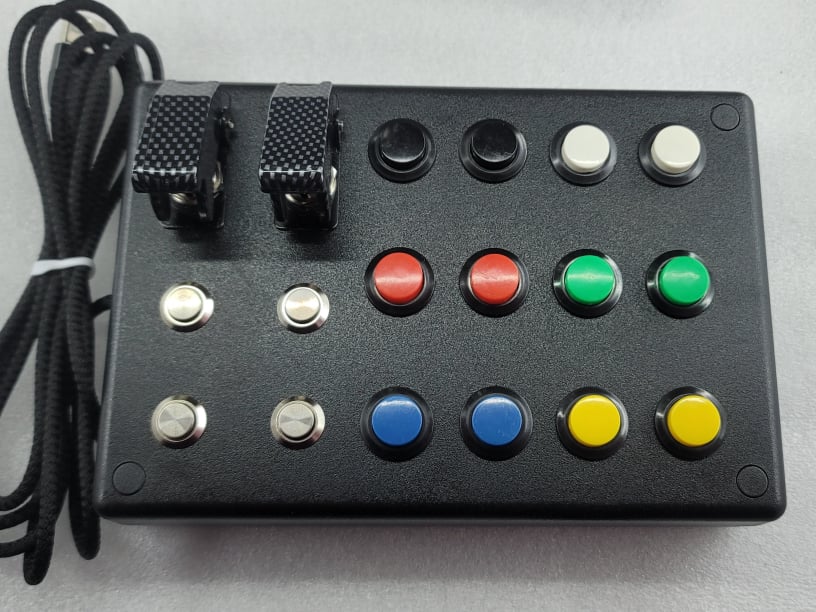
I contemplated on the options around this, first making use of 'Virtual Panels' on tablets, these simulated buttons and switches. But it was hard to be accurate finding the switches when concentrating hard on the main display screen, what I needed was real switches 'Button-Boxes' that I could find by using memory and touch, the same as we do when driving our cars.
Choosing what to build will be dependent on a few things, what simulation games you are planning to play, the room you have available, your DIY / Electrical skills, and the biggest restricting factor of all, what you can afford. Even the cheapest of builds can end up quite expensive, and they are never 'Finished', as there is always something more to add or to improve upon, and therefore the costs continues to rise.
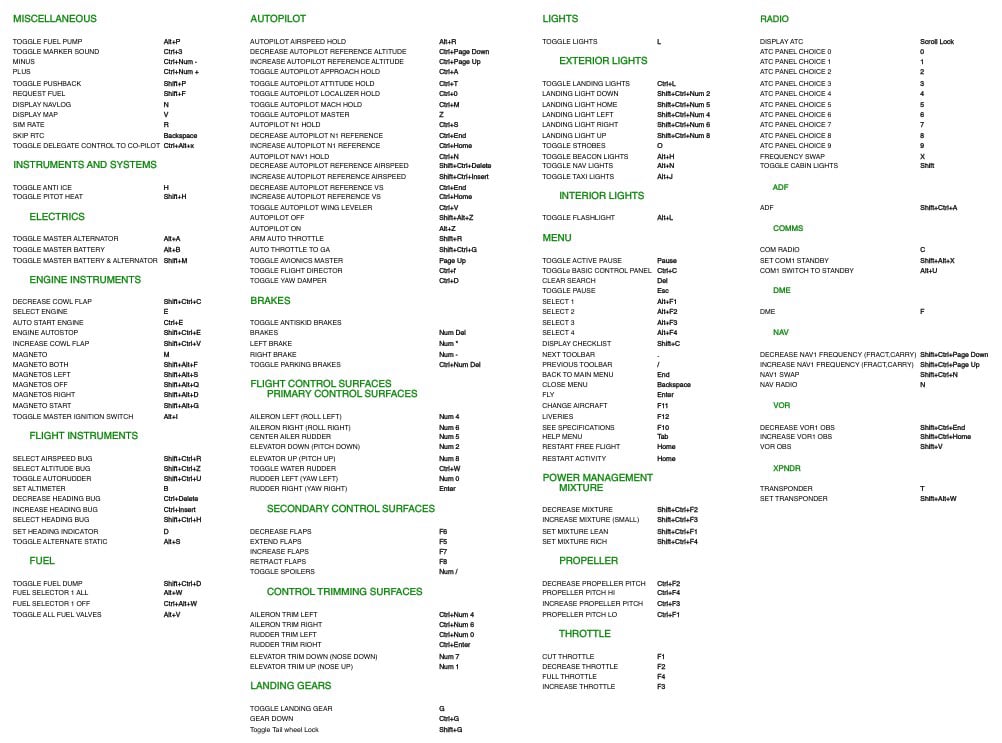
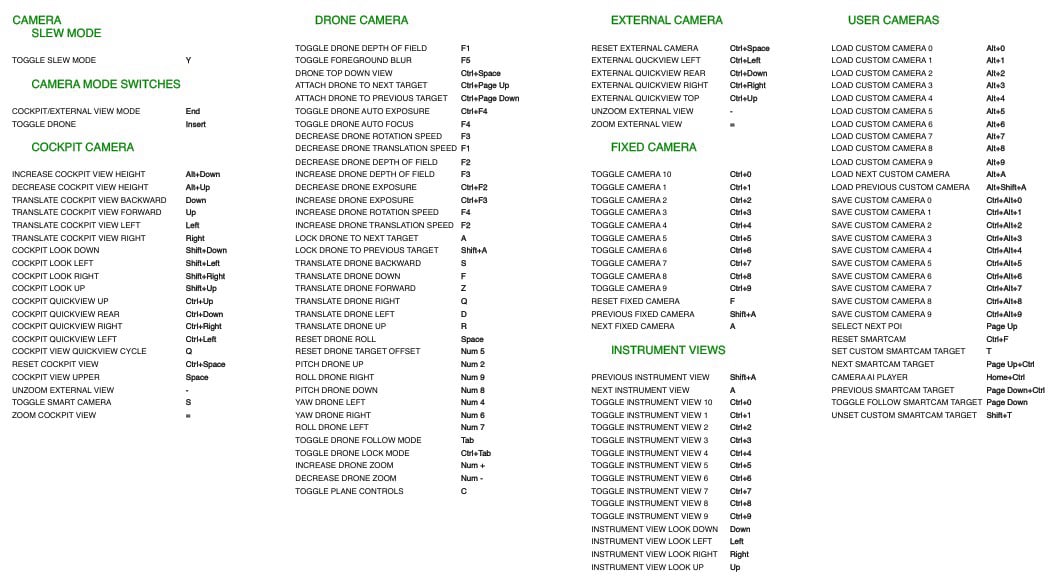
Now not all of us have the brain and memory abilities of a Savant, yes I guess it would be possible to learn all the combinations given time and practice, but if you add to the issue the fact that you may be using more than one simulation program the numbers of buttons grows extortionately.
We have all see photographs or videos of airline pilots in the cockpit, and have no doubt been amazed at the overwhelming number of switches and dials. (see example below)
THERE IS A REASON FOR THESE SWITCHES, AND WHY THEY DO NOT JUST HAVE A SMALL KEYBOARD..
Can you imagine the complexity, the stress, and the risk involved if the safe operation of an airplane relied on a person trying to remember thousands of complex keystrokes?
Our brains rely more on visual signals, it is far easier for us to operate a clearly labelled switch or lever, than to try to remember combinations of keystrokes that have no clear visible reference such as CTRL-ALT-PgDn.
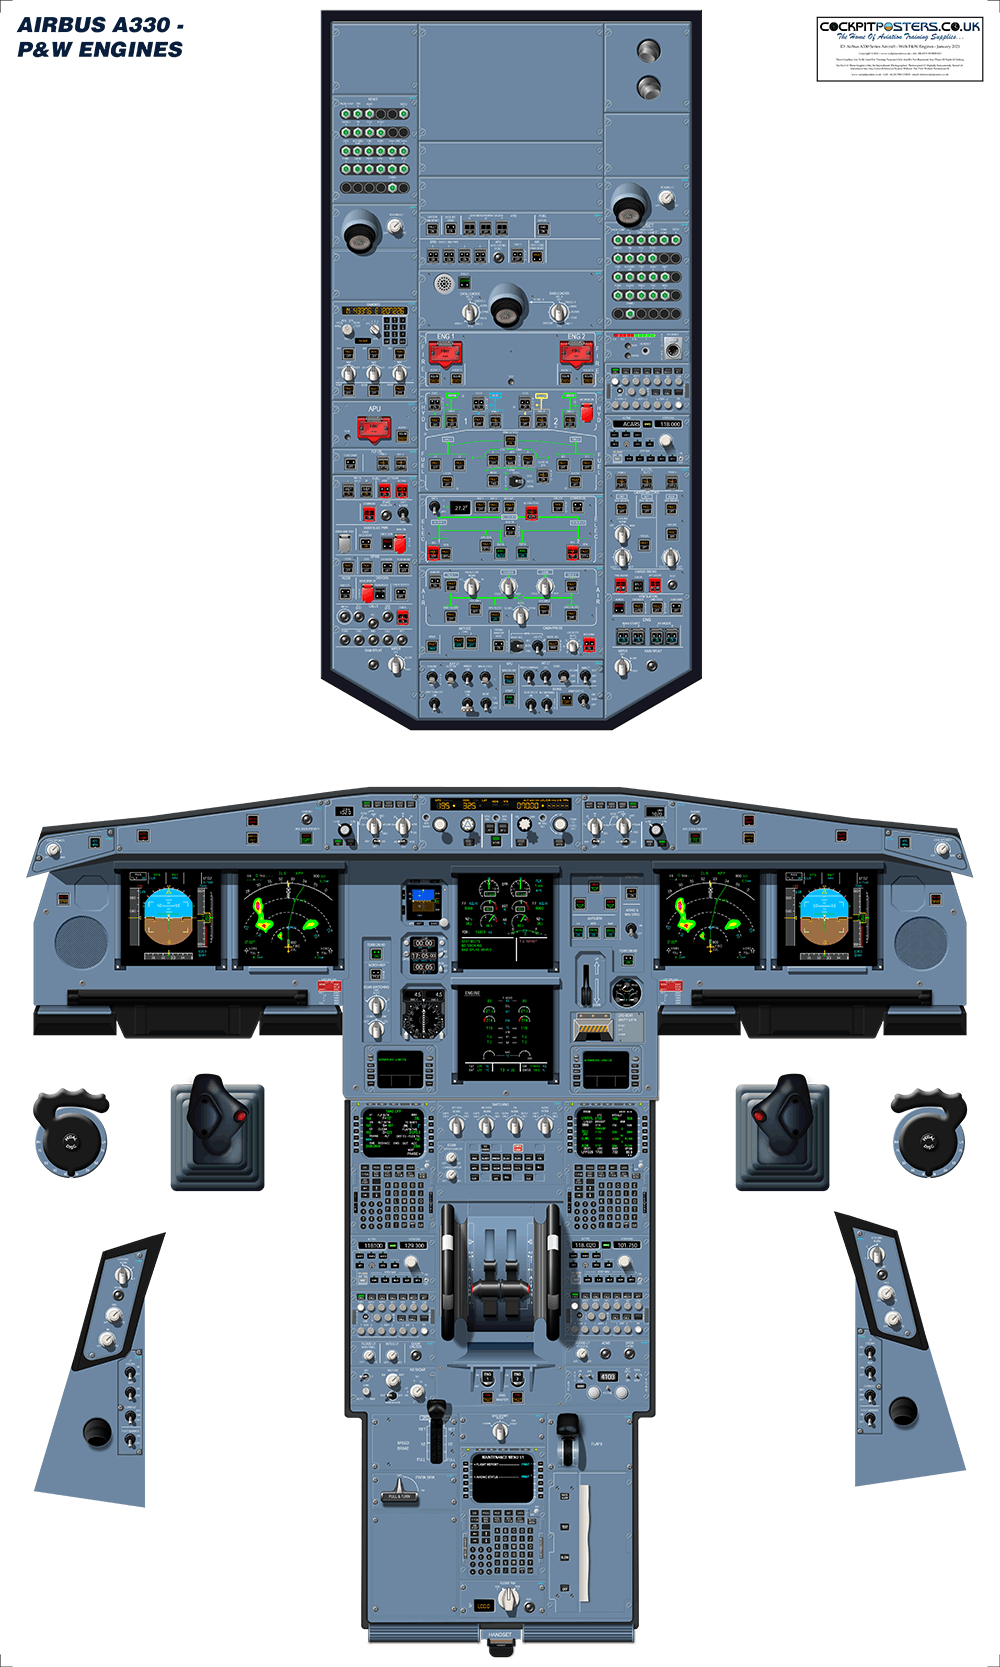
From turning on the 'Fasten Seat Belts' and 'No Smoking' lights, to operating the windshield wipers or lowering the landing gear, a Cockpit has a button, switch, knob, dial or lever to do everything!
These often need to be located from memory whilst performing other tasks such as visually flying the plane.
Clearly visible and well labelled, these are much easier for the pilot's brain to locate and operate in an emergency, or during extremely stressful periods such as taking-off or landing, the busiest part of a pilots routine.

PILOT: Ok First-Officer, we are approaching runway, select CTRL-ALT-SHIFT-F7
F.O: But Sir, that's to open the rear cargo door, NOT to lower the landing gear!
Before making any home-build rig, you need to work out what will actually suit you. Assemble everything you already have, and consider anything else you need to or may wish to add later. Clear the place where you will keep the rig, and measure how big the unit will be. (Use masking tape on floor to outline the space it will take), Remember to leave enough side room for the gearstick and for the monitors if you are planning on using more than one. Allow room at the side to enter and exit the unit.
CONSIDER THE FOLLOWING
How much room have you got to permanently place the simulator and to access it?
What simulation Games will you be playing and what do they need?
Where will you fit the keyboard / Mouse mat.
Is the seat too High/Low?
Is there enough room to slide legs inside?
Where will I place computer?
Will I be able to access rear of computer?
Where will I place speakers?
How will I secure everything down?
Are there enough power outlets?
What will it be mounted on? (wood floors amplify noise).
Does it need to be moveable for cleaning / repairs?
Is it stable and balanced?
Can it hold the weight of you and ALL the equipment?
Accumulated together, the weight of all the monitors, computer, pedals, gearstick, speakers, car seat, the wood used to build it, and of course the weight of the largest person that will use it soon becomes far more then initially estimated. This along with the style of simulation games you will play, can have a bearing on what types and thicknesses of wood we use, how many and what supports are needed.
Racing games in particular due to the sudden and erratic turning speeds of the wheel, fast shifting of gear sticks, and heavy sudden pedal use can place intense strains on the rigidity of our sim-rig, it must be 100% stable under this heavy prolonged use. Use of pressure clamps provided by wheel makers are not strong enough to hold everything in place, you need to make use of their pre-drilled threaded holes and bolt them securely into place. Similarly the seat takes a lot of rearward pressure during braking (and especially when getting in/out of seat) and must be well bolted to the base or support rails.
There are many other things to consider before you cut your first piece of wood, take a look at the link above that shows you my personal sim-rig build, and the many steps it took, along with the many fails!
https://woo-uk.com/Boomerang-Gaming/myrig.html
So we do not have the many thousands to spend on an exact replica, nor the many hundreds for a pre-built 'Racing Base', yet we want more than the controller clamped onto our dining table or work desk. So we decide to make our own.
Before you get out your saw and nails, before you even begin to purchase the material to build, you have to determine exactly what it will be used for. Is it going to be for Car Racing? Is it for Flight Simulation? as each may require something different.
If you are aiming for 100% accuracy and realism, then when it comes to car driving, a rig designed around a basic car cockpit is pretty forgiving, it will be ok for Racing a Formula One car or when driving a Truck or Bus, although you can further modify to better suit either. But with flying it is a bit different, the controls to fly a plane are very different to those used to fly a helicopter. In fact each brand, model, style, even size of aircraft can mean totally different layouts.
So what are you going to fly?
The important fact to remember here is... A simulator does not need to be an exact replica!
Every vehicle or aircraft layout is different, so why be stuck to using only one type?
A simulator needs to be Practical, Usable, Ergonomic and Comfortable to use for long periods of time.
It needs to match your own individual needs, it must be the right size and height for you, it needs to fit into your desired location. Work with your existing software, and it must be at a price you can afford, to both buy and to run.
So for those without a bottomless bank account, I want to try to show some alternative ideas and methods, to show ways to recycle things and repurpose older items and technology, and where possible to create D.I.Y. alternatives.
So we do not have the many thousands to spend on an exact replica, nor the many hundreds for a pre-built 'Racing Base', yet we want more than the controller clamped onto our dining table or work desk. So we decide to make our own.
Before you get out your saw and nails, before you even begin to purchase the material to build, you have to determine exactly what it will be used for. Is it going to be for Car Racing? Is it for Flight Simulation? as each may require something different.
If you are aiming for 100% accuracy and realism, then when it comes to car driving, a rig designed around a basic car cockpit is pretty forgiving, it will be ok for Racing a Formula One car or when driving a Truck or Bus, although you can further modify to better suit either. But with flying it is a bit different, the controls to fly a plane are very different to those used to fly a helicopter. In fact each brand, model, style, even size of aircraft can mean totally different layouts.
So if flying, What are you going to fly?
The important fact to remember here is... A simulator does not need to be an exact replica!
Every vehicle or aircraft layout is different, so why be stuck to using only one type?
A simulator needs to be Practical, Usable, Ergonomic and Comfortable to use for long periods of time.
It needs to match your own individual needs, it must be the right size and height for you, it needs to fit into your desired location. Work with your existing software, and it must be at a price you can afford, to both buy and to run.
So for those without a bottomless bank account, I want to try to show some alternative ideas and methods, to show ways to recycle things and repurpose older items and technology, and where possible to create D.I.Y. alternatives.
Creating a Home-Build Simulator using plans.
PLASTIC RIGS
It's possible to build a light-weight simulation rig from plastic plumbers pipe and angled plumbing joints.
The plastic tubing used for plumbing is quite cheap, it is also surprisingly strong, and when used correctly can hold considerable weight. Any sections that are expected to bear any real heavy loads can always be strengthened internally by wood. There are many joints available that can get the angles that you need.
If you are after a lightweight build, this maybe a good choice, it will also be reconfigurable later if needed. See examples below
Video Description
METAL RIGS
WOODEN RIGS
REAL CAR PART RIGS